Leaderboard


Popular Content
Showing content with the highest reputation on 11/27/18 in all areas
-
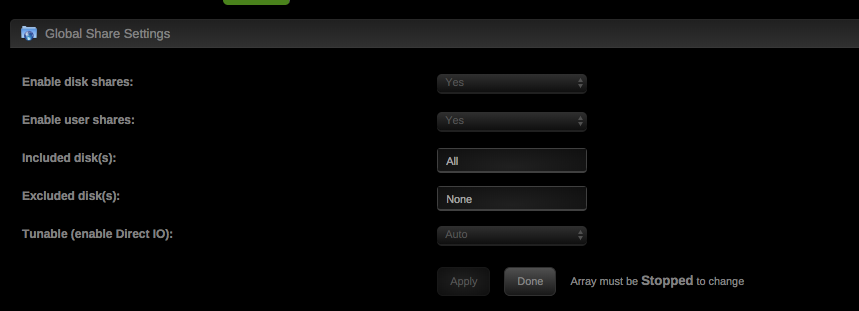
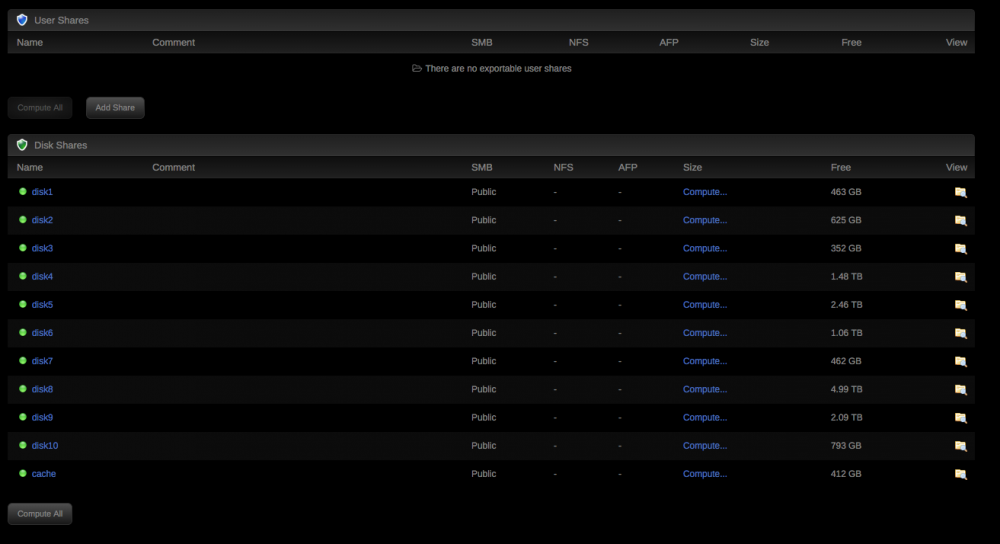
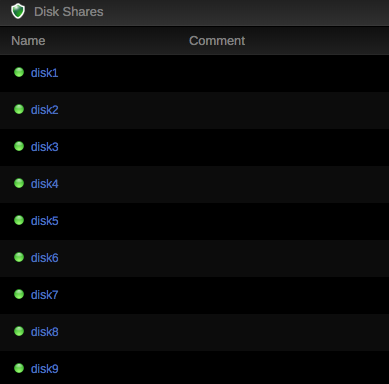
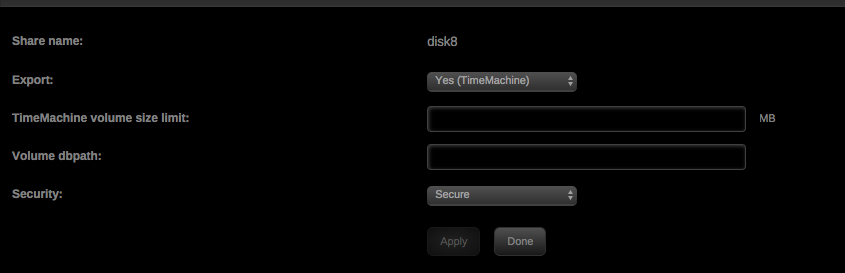
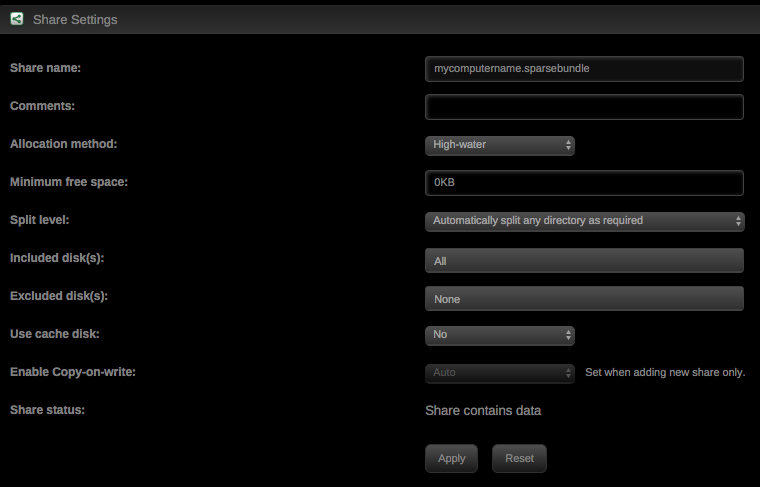
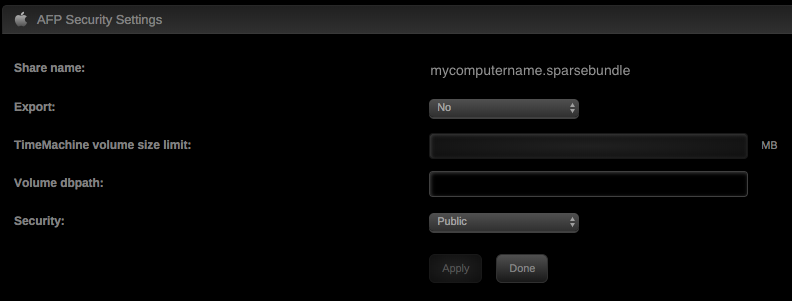
Since installing unraid and replacing an older system I have been scouring the forums to find out how to get Apple TimeMachine working correctly with UnRAID. I have lots of issues with connecting to TimeMachine, errors in the back up or more recently that my Mac's keep telling me my backup disk has a new identity and needs to create a new backup, this taking about 24hours or so for the initial one and needing to redo it a few times a week is painful. Well from some help via this forum and YouTube I found a working solution to this. Its most definitely using disk shares instead of user shares that's the key. Here is how it got it working perfectly on my 2 Macs in my home. First you really should dedicate a single disk for this purpose as we will be using Disk Shares not user shares. Prep: _________________________________________________________________________________________________________________________________________________________________ For my purpose I set all shares to exclude disk8 (5TB) to dedicate for my two Mac's (a Mac Mini with 2x1TB SSD's and a Macbook Air with 256GB of SSD space) I deleted my TimeMachine user share and made sure my disks shares were being exported on the Tower/Main screen. (v6.3.5) ---- Method of Procedure: with array stopped head to Settings-->Global Share Settings and make sure Enable Disk Shares is set to Yes, then start the array. Next I had about 2.5TB on the Drive so used the docker contain Krusader and ssh via terminal to move the contents to the appropriate folders on other disks. _________________________________________________________________________________________________________________________________________________________________ Setup: Once the disk was empty it was time to set Timemachine up. Head over to the Shares tab, click on the disk# you are going to use and not a share name make sure Export is set to Yes (TimeMachine) and Security is Secure (TimeMachine wont backup to public shares/disks over a network) make sure to give your user read/write access Mount the Disk on your Mac with cmd-K then use type afp://username:password@serverIP/disk# and connect (in my case is used disk8) On your Mac: Open Preferences and TimeMachine connect to the disk you just mounted it should also be detected if you didn't mount it but I always mount it to know i can access it. Start a Backup once Timemachine accepts your disk and is scheduling a backup. I found my backup started but failed after about 20min or so. but i noticed I have a new Usershare named after my computers name with the .sparsebundle attached Resolving the Backup Error: _________________________________________________________________________________________________________________________________________________________________ Click on the new User Share with the .sparsebundle on its name. Change the Allocation Method to High Water I chose not to use the Cache drive as i only have 512GB and my initial backup was over 1TB but feel free to use it or turn it on after the initial backup completes. under the Security Settings leave it all as default Thats It both my Mac's connect and backup without error now and I couldn't be happier

 1 point
 -
see here: https://esxi-patches.v-front.de/ESXi-6.5.0.html click on particular version, and you will see short instruction how to update to it.1 point
-
No. You can stop the array, change the format of a disk and start the array without any problems. It wouldn't rebuild the disk unless you deliberately unassigned it, started the array with it unassigned, stopped the array and reassigned it.1 point
-
I would expect a bad pump to fail to start when powered up, because it can't overcome the static friction. If it happens to start it will probably keep running. I'd get a decent air cooler instead. That would be more than adequate as long as you're not overclocking - which you shouldn't do to a server, anyway. The IRQ issue is unrelated and whether you can ignore it depends on what, if anything, is using IRQ 16. If it's an unused USB controller then it doesn't really matter. If it's your NIC or your HBA then performance will suffer.1 point
-
If the problem is documented while running bare metal, then general support IS the proper forum. If you are only running virtual, then this is the proper place for troubleshooting. If you wish to get support from limetech, your first troubleshooting step is to switch to running bare metal and replicate the issue. Until you can document that it happens bare metal, it's a possible virtualization issue which limetech doesn't directly support. You've been here long enough to know that.1 point
-
If you are still pre 6.4 it's about time to update 😲1 point
-
Don't use the numatune option if you want the bandwith of both channels. Or set it to "interleaved" and specify both nodes. <numatune> <memory mode='interleave' nodeset='0-1'/> </numatune> It's up on you what works better for you. Depends on the application and the games. Some benefit of the higher bandwith some of the lower latency.1 point
-
Ok so to help anyone out i managed to find the problem! on my TP-Link router / Security tab / Remote Management tab The 'Web Management' port was set to 80 and blocking any traffic to unraid. I changed this to a different value and now i can use the 180-80 and 1443-443 port forwarding settings as described in spaceinvaderones tutorial!! I knew it would be something simple!!!1 point
-
And also bear in mind that it was late Saturday night when you sent and email and it is a holiday weekend in the states Sent via telekinesis1 point
-
If you don't get a reply in a few hours, something is blocked. Sadly spam filters ensure email is no longer a certain way to send and receive stuff anymore. Do you have a alternate email you can try? Typically you should get a response in less than 1 day. Sent from my chisel, carved into granite1 point