Leaderboard


Popular Content
Showing content with the highest reputation on 08/24/19 in all areas
-
Since I can remember Unraid has never been great at simultaneous array disk performance, but it was pretty acceptable, since v6.7 there have been various users complaining for example of very poor performance when running the mover and trying to stream a movie. I noticed this myself yesterday when I couldn't even start watching an SD video using Kodi just because there were writes going on to a different array disk, and this server doesn't even have a parity drive, so did a quick test on my test server and the problem is easily reproducible and started with the first v6.7 release candidate, rc1. How to reproduce: -Server just needs 2 assigned array data devices (no parity needed, but same happens with parity) and one cache device, no encryption, all devices are btrfs formatted -Used cp to copy a few video files from cache to disk2 -While cp is going on tried to stream a movie from disk1, took a long time to start and would keep stalling/buffering Tried to copy one file from disk1 (still while cp is going one on disk2), with V6.6.7: with v6.7rc1: A few times transfer will go higher for a couple of seconds but most times it's at a few KB/s or completely stalled. Also tried with all unencrypted xfs formatted devices and it was the same: Server where problem was detected and test server have no hardware in common, one is based on X11 Supermicro board, test server is X9 series, server using HDDs, test server using SSDs so very unlikely to be hardware related.2 points
-
Here is a video that shows what to do if you have a data drive that fails and you want to swap/upgrade it and the disk that you to replace it is larger than your parity drive. So this shows the swap parity procedure. Basically you add the new larger drive then have Unraid copy the existing parity data over to the new drive. This frees up the old parity drive so it can then be used then to rebuild the data of the failed drive onto the old parity drive. Hope this is useful2 points
-
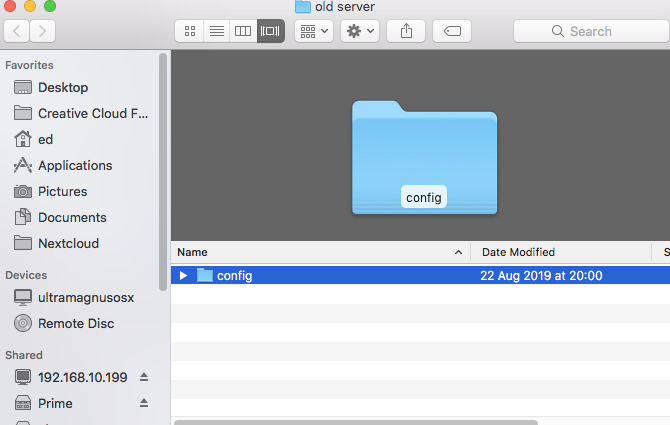
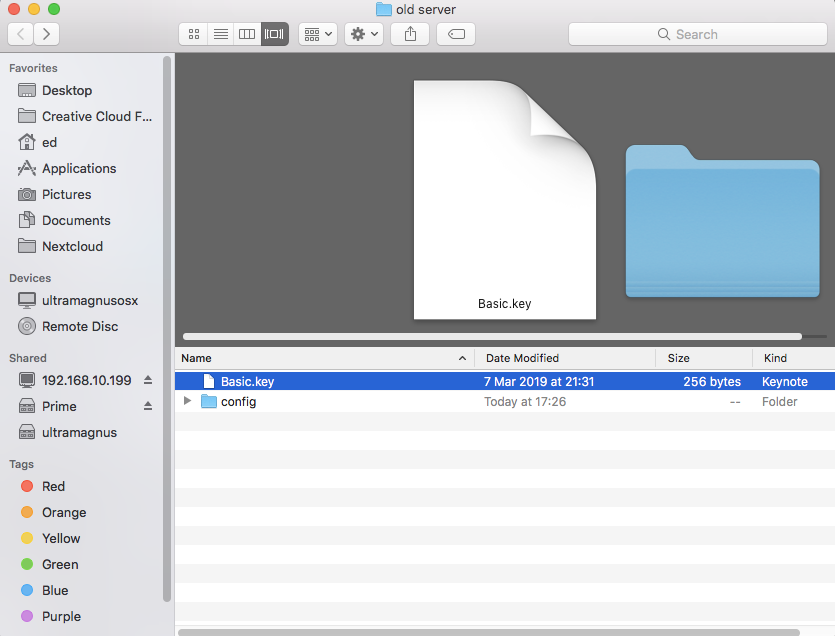
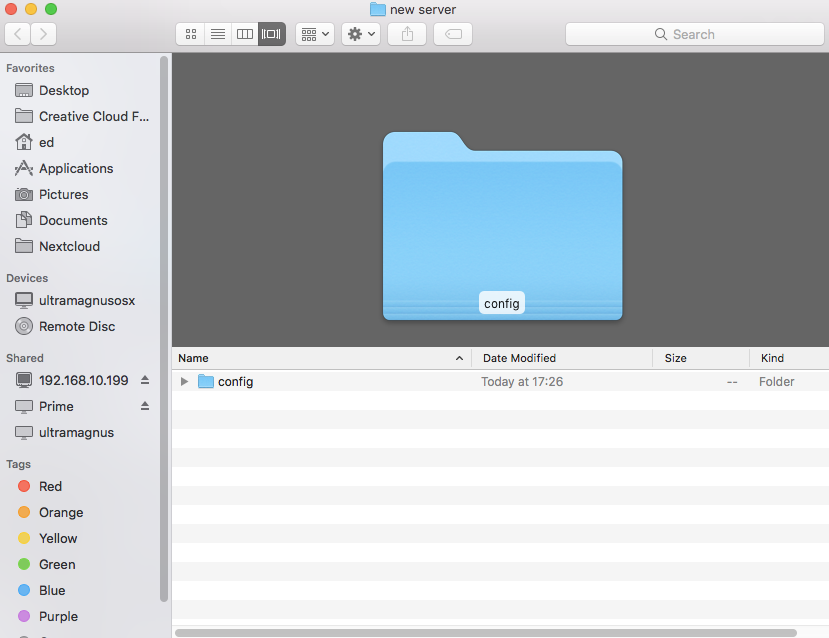
Just as jonathanm said -- Config folders can be swapped from stick to stick, just keep the key file with the physical stick it belongs to. So just follow this procedure. 1./ On the new machine register from the trial to the plus 2./ Shutdown both servers. 3./ Put flash drive from old server (basic key one) into a pc. 4./ Make folder called old server 5./ a/ Copy the config folder from the usb flash drive of old server into the old server folder. b. delete config folder from the flash drive c/ open the config folder (in old server folder on desktop) and copy the basic key into the old server folder (After which make sure that it isnt in the config file that it was moved not copied) 6. remove flash drive 7./ Now put the flash drive in from new server (plus key one) 8./ make folder called new server. 9./ a/ copy the config folder to new server folder. b. delete config folder from the flash drive c/ open the config folder (in new server folder on desktop) and move the plus key into the new server folder (After which make sure that it isn't in the config file that it was moved not copied) Now each flash drive has no config folder (as deleted) and you have the config folder on your desktop in the old server and new server folders along with their keys. 10/ Now move the basic key from the oldserver folder into the config folder in the new server folder 11 ./ Move the plus key from the new server folder into the config folder of the old server folder. Now the flash drive (which was originally from the new server) should still be in the pc. Now move the config folder from the old server folder onto this flash drive. Remove drive. Now this flash drive has a plus key and the config of your oldserver. Put this key in old server and start up. Now put the old servers original flash drive into the pc and copy the config folder from the new server folder into the flash drive. This now has the config for the new server but with the basic key. Put in new server and start the server. If for any reason the server doesn't boot. Put flash drive in a pc and run the file makebootable.bat (but i dont think you should have to do this.)
 2 points
 -
Turbo Write technically known as "reconstruct write" - a new method for updating parity JonP gave a short description of what "reconstruct write" is, but I thought I would give a little more detail, what it is, how it compares with the traditional method, and the ramifications of using it. First, where is the setting? Go to Settings -> Disk Settings, and look for Tunable (md_write_method). The 3 options are read/modify/write (the way we've always done it), reconstruct write (Turbo write, the new way), and Auto which is something for the future but is currently the same as the old way. To change it, click on the option you want, then the Apply button. The effect should be immediate. Traditionally, unRAID has used the "read/modify/write" method to update parity, to keep parity correct for all data drives. Say you have a block of data to write to a drive in your array, and naturally you want parity to be updated too. In order to know how to update parity for that block, you have to know what is the difference between this new block of data and the existing block of data currently on the drive. So you start by reading in the existing block, and comparing it with the new block. That allows you to figure out what is different, so now you know what changes you need to make to the parity block, but first you need to read in the existing parity block. So you apply the changes you figured out to the parity block, resulting in a new parity block to be written out. Now you want to write out the new data block, and the parity block, but the drive head is just past the end of the blocks because you just read them. So you have to wait a long time (in computer time) for the disk platters to rotate all the way back around, until they are positioned to write to that same block. That platter rotation time is the part that makes this method take so long. It's the main reason why parity writes are so much slower than regular writes. To summarize, for the "read/modify/write" method, you need to: * read in the parity block and read in the existing data block (can be done simultaneously) * compare the data blocks, then use the difference to change the parity block to produce a new parity block (very short) * wait for platter rotation (very long!) * write out the parity block and write out the data block (can be done simultaneously) That's 2 reads, a calc, a long wait, and 2 writes. Turbo write is the new method, often called "reconstruct write". We start with that same block of new data to be saved, but this time we don't care about the existing data or the existing parity block. So we can immediately write out the data block, but how do we know what the parity block should be? We issue a read of the same block on all of the *other* data drives, and once we have them, we combine all of them plus our new data block to give us the new parity block, which we then write out! Done! To summarize, for the "reconstruct write" method, you need to: * write out the data block while simultaneously reading in the data blocks of all other data drives * calculate the new parity block from all of the data blocks, including the new one (very short) * write out the parity block That's a write and a bunch of simultaneous reads, a calc, and a write, but no platter rotation wait! Now you can see why it can be so much faster! The upside is it can be much faster. The downside is that ALL of the array drives must be spinning, because they ALL are involved in EVERY write. So what are the ramifications of this? * For some operations, like parity checks and parity builds and drive rebuilds, it doesn't matter, because all of the drives are spinning anyway. * For large write operations, like large transfers to the array, it can make a big difference in speed! * For a small write, especially at an odd time when the drives are normally sleeping, all of the drives have to be spun up before the small write can proceed. * And what about those little writes that go on in the background, like file system housekeeping operations? EVERY write at any time forces EVERY array drive to spin up. So you are likely to be surprised at odd times when checking on your array, and expecting all of your drives to be spun down, and finding every one of them spun up, for no discernible reason. * So one of the questions to be faced is, how do you want your various write operations to be handled. Take a small scheduled backup of your phone at 4 in the morning. The backup tool determines there's a new picture to back up, so tries to write it to your unRAID server. If you are using the old method, the data drive and the parity drive have to spin up, then this small amount of data is written, possibly taking a couple more seconds than Turbo write would take. It's 4am, do you care? If you were using Turbo write, then all of the drives will spin up, which probably takes somewhat longer spinning them up than any time saved by using Turbo write to save that picture (but a couple of seconds faster in the save). Plus, all of the drives are now spinning, uselessly. * Another possible problem if you were in Turbo mode, and you are watching a movie streaming to your player, then a write kicks in to the server and starts spinning up ALL of the drives, causing that well-known pause and stuttering in your movie. Who wants to deal with the whining that starts then? Currently, you only have the option to use the old method or the new (currently the Auto option means the old method). But the plan is to add the true Auto option that will use the old method by default, *unless* all of the drives are currently spinning. If the drives are all spinning, then it slips into Turbo. This should be enough for many users. It would normally use the old method, but if you planned a large transfer or a bunch of writes, then you would spin up all of the drives - and enjoy faster writing. Tom talked about that Auto mode quite awhile ago, but I'm rather sure he backed off at that time, once he faced the problems of knowing when a drive is spinning, and being able to detect it without noticeably affecting write performance, ruining the very benefits we were trying to achieve. If on every write you have to query each drive for its status, then you will noticeably impact I/O performance. So to maintain good performance, you need another function working in the background keeping near-instantaneous track of spin status, and providing a single flag for the writer to check, whether they are all spun up or not, to know which method to use. So that provides 3 options, but many of us are going to want tighter and smarter control of when it is in either mode. Quite awhile ago, WeeboTech developed his own scheme of scheduling. If I remember right (and I could have it backwards), he was going to use cron to toggle it twice a day, so that it used one method during the day, and the other method at night. I think many users may find that scheduling it may satisfy their needs, Turbo when there's lots of writing, old style over night and when they are streaming movies. For awhile, I did think that other users, including myself, would be happiest with a Turbo button on the Main screen (and Dashboard). Then I realized that that's exactly what our Spin up button would be, if we used the new Auto mode. The server would normally be in the old mode (except for times when all drives were spinning). If we had a big update session, backing up or or downloading lots of stuff, we would click the Turbo / Spin up button and would have Turbo write, which would then automatically timeout when the drives started spinning down, after the backup session or transfers are complete. Edit: added what the setting is and where it's located (completely forgot this!)1 point
-
Yes you do dynamix.s3.sleep.plg - 2018.02.041 point
-
Hi Chris, Sorry not sure what happened but I misspelled the repository name. It should be "aartr/docker-motioneye" instead of "aartr/docker-monitioneye". I'll update my post above to include the correct repo name as well.1 point
-
There's only a handful of options to choose from, the menu has been greatly simplified. Short Test Run this to see if your system appears to respond to changing the Unraid disk Tunables. If your results look mostly flat, then go on with life and forget about this tool - your server doesn't need it. Some servers behave the same no matter what tunables you use. But if you see dramatically different speeds from the Short Test, then that shows your server appears to react to changing the tunables, and one of the real tests below could be worth the time. Sometimes you will even seem the outlines of a bell curve forming in the Short Test results, which is a very strong indicator that your server responds well to tuning. This test only takes a few minutes, so you don't have to waste much time to see if your server responds to tuning. Also, keep in mind that even if your server responds well to tuning, the fastest parameters might still be the Unraid stock values, so there's no guarantee that running the tests will discover values that make your server faster. Normal Test This is the quickest real test. It does not test the nr_requests values, and it uses a 5 minute duration for each test. Because the test adapts to how your HD controller responds to the tunables, it will optionally test some additional value ranges, so the run time varies from 8 to 10 hours. Thorough Test Same as the Normal Test, but includes the nr_requests tests, which add another 4 hours to the Normal Test duration. So far we have found that once all the other tunables have been optimized (by the normal tests), that nr_requests default value of 128 is best, making the nr_requests tests basically a waste of time. But there is always the possibility that your server might be different, so I make this optional if you want to check. Long Test (Recommended) This is exactly the same as the Normal Test, except each test duration is doubled from 5 minutes to 10 minutes. That means the test takes twice as long. Longer tests improve accuracy, making it easier to identify which settings work best. For example, if the Normal Test had an accuracy of +/- 1.0 MB/s, then the Long Test might double that accuracy to +/- 0.5 MB/s or better. Because the test duration is doubled, the total test time also doubles to 16-20 hours. I recommend this test because it has the increased accuracy of the 10 minute duration, without the extra 8 hours for the nr_requests test that are probably a waste of time. Xtra-Long Test This is exactly the same as the Thorough Test, except each test duration is doubled from 5 minutes to 10 minutes, for the same reason as the Long Test. Another way to think of this is that this is the Long Test plus the nr_requests tests. Because the test duration is doubled, the nr_requests tests add 8 hours, bringing total test length up to the 24-28 hour range. FYI on Test Accuracy Test accuracy is determined by looking at tests that get repeated in successive passes, for example Pass 2 Test 25 is always a repeat of the test result chosen from Pass 1, and Pass 2 Test 1 is usually a repeat of another test in Pass 1 as well. The fastest test result from Passes 1 & 2 also gets repeated in Pass 3. Because the test points can vary by server, sometimes you will get several more repeated test points to compare to determine accuracy. By comparing the reported speeds from one pass to the others for the exact same tests, you can determine the accuracy. The accuracy varies by server. Some servers, like mine, produce an accuracy of +/- 0.1 MB/s every single time, it's incredibly consistent. Other servers might be +/- 2.5 MB/s, while a few servers are +/- 10 MB/s or worse. Note, if you are seeing large accuracy variances, that might mean that you have processes running that are access the array, reading or writing data, which essentially makes the test results invalid. When I look at the results and make an accuracy determination, I usually use the worst result (biggest variance) and use that as the accuracy for the entire test. So if the test chosen from Pass 1 was 140.5 MB/s, and the Pass 2 Test 25 was 140.7 MB/s, then that is an accuracy of +/- 0.2 MB/s. But if another repeated test was 143.0 MB/s in one pass, and 142.0 MB/s in another pass, then that indicates an accuracy of +/- 1.0 MB/s, so I say the entire test is +/- 1.0 MB/s. It takes time for servers to 'settle down', so to speak, and produce accurate results. Modern hard drives have huge caches, HD controllers often have caches, all designed to improve short-term performance. System activity may temporarily affect throughput. The longer tests minimize these effect, improving accuracy. Also, the longer tests just provide for better math. For example, consider a 10 second test versus a 10 minute (600 seconds) test. 2000 MB moved in 10 seconds = 200 MB/s, and 2060 MB moved in 10 seconds = 206 MB/s. 120,000 MB moved in 600 seconds is also 200 MB/s, but 120,060 MB moved in 600 seconds is 200.1 MB/s. In this example, the variance in both tests was just 60 MB, but the average speed accuracy increased from +/- 6.0 MB/s to +/- 0.1 MB/s, 60 times more accurate. This helps illustrate why the Short Test, which uses a 10 second duration, is not accurate enough for usable results. Understanding the accuracy of your results is important when trying to determine which result is fastest. If your accuracy is +/- 1.0 MB/s, then for all intents and purposes, 162 MB/s is the same as 163 MB/s, and there's no reason to pick 163 over 162.1 point
-
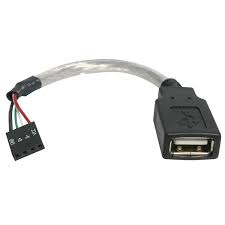
That is probably not going to be the best way of dealing with the root issue of damage. Getting an adapter to put the USB stick inside the case is a much better solution. Small USB sticks can be less reliable as the heat has less area to dissipate, cooking the USB stick over time. Trial licenses can't be transferred, only normal licenses. With a regular license, you would prepare the new USB stick normally, then copy the config folder and overwrite the stock contents with your custom settings and license file. When the server comes up, it will guide you through the process of transferring the license to the new stick. On the Main tab, under boot device, click on flash. That will bring up a page with a button to download the flash backup. License limits apply to ALL mass storage devices minus the boot USB attached when the array is started. If you unplug the external devices that would put you over the limit, you can then start the array and plug them back in. If you want to leave them attached, you must have the license limits to match, whether they are actively assigned to the array or not.
 1 point
 -
Why do you want such a large vdisk anyway? You can access Unraid User Shares from your VMs. The User Shares are folders that can span disks. So, if you just want a storage volume that can span disks, the User Shares can do that just fine. You just can't have a single file that spans disks.1 point
-
The next release has wireguard included. The GUI component to manage wireguard will be available as a plugin.1 point
-
@argonaut @ice pube Hey, I released a separate tag for you with some dirty hacks, but looks like it's working. You can use the tag spikhalskiy/zerotier:1.4.2 and it will give you the latest Zerotier version. Give it a try if you are in the mood for some experiments It's an experimental tag and the docker image for this build contains hacks that are not in the Zerotier upstream, so I don't recommend to switch on it until you understand that it could not work for you. I made a ticket for Zerotier team: https://github.com/zerotier/ZeroTierOne/issues/1013. When it's resolved in the upstream in a reasonable manner I will update the main docker with Zerotier 1.4.2 or newer for everybody.
 1 point
 -
That sound promising! I look forward to that! Would it be too much to ask if you could explain how to implement it and run it when you are done writing the script? Thank you so much in advance!1 point


