Leaderboard


Popular Content
Showing content with the highest reputation on 03/26/22 in all areas
-
Earlier today I found a cracking Facebook Marketplace detail for a lightly used APC Uninteruptable Power Supply unit, an APC Back-UPS 750 ES specifically. Thing is, my UnRAID Server (a Lenovo TS430) is in our bedroom at the moment. If the power goes off in the night for a bit, I don't want the UPS beeping away to wake me up just to tell me it's working and asking if I'm proud of it. Looking around, APC say that you have to install their PowerChute software to disable alarms... didn't fancy that. UnRAID uses apcupsd for it's UPS support. A bit of careful Googling and I found my answer... Full credit to masxio for showing us how to do this: https://masxio.wordpress.com/2012/11/18/how_to_disable_beep_alarm_from_apc_ups/ Step by step with added UnRAID steps: STOP the APC UPS Daemon (Settings > UPS Settings > "Start APC UPS Daemon" should be set to No > Apply). If you're getting fatal errors later in the process, this may well be your problem, example below. Get a terminal session going on your unraid server (you can use the web based one on the dashboard or start an SSH session, whatever you wish) sudo apctest The main menu will be displayed, press 6 (to edit alarm settings) Once the alarm menu is displayed, press D (to disable them) If you want to verify the change, repeat step 4 and check the status displayed, then use Q to get back to the main menu. When back at the main menu, press Q (to quit) You're done, close the terminal. START the APC UPS Daemon (Settings > UPS Settings > "Start APC UPS Daemon" should be set to Yes > Apply) I'd recommend you test to see if your UPS actually bleeps - pull the power out of the wall is one way. Here's a copy of my terminal session, including my first attempt to run apctest before I stopped the APC UPS Daemon: Linux 4.19.56-Unraid. root@Tower:~# sudo apctest 2019-10-15 11:15:59 apctest 3.14.14 (31 May 2016) slackware Checking configuration ... sharenet.type = Network & ShareUPS Disabled cable.type = USB Cable mode.type = USB UPS Driver apctest FATAL ERROR in apctest.c at line 313 Unable to create UPS lock file. If apcupsd or apctest is already running, please stop it and run this program again. apctest error termination completed root@Tower:~# sudo apctest 2019-10-15 11:16:18 apctest 3.14.14 (31 May 2016) slackware Checking configuration ... sharenet.type = Network & ShareUPS Disabled cable.type = USB Cable mode.type = USB UPS Driver Setting up the port ... Doing prep_device() ... You are using a USB cable type, so I'm entering USB test mode Hello, this is the apcupsd Cable Test program. This part of apctest is for testing USB UPSes. Getting UPS capabilities...SUCCESS Please select the function you want to perform. 1) Test kill UPS power 2) Perform self-test 3) Read last self-test result 4) View/Change battery date 5) View manufacturing date 6) View/Change alarm behavior 7) View/Change sensitivity 8) View/Change low transfer voltage 9) View/Change high transfer voltage 10) Perform battery calibration 11) Test alarm 12) View/Change self-test interval Q) Quit Select function number: 6 Current alarm setting: ENABLED Press... E to Enable alarms D to Disable alarms Q to Quit with no changes Your choice: Select function: D New alarm setting: DISABLED 1) Test kill UPS power 2) Perform self-test 3) Read last self-test result 4) View/Change battery date 5) View manufacturing date 6) View/Change alarm behavior 7) View/Change sensitivity 8) View/Change low transfer voltage 9) View/Change high transfer voltage 10) Perform battery calibration 11) Test alarm 12) View/Change self-test interval Q) Quit Select function number: q 2019-10-15 11:17:38 End apctest. root@Tower:~# Hope this helps someone slience their UPS with a minimum of fuss.1 point
-
I think I got it. I'm able to have both instances running at the same time and I can connect to each of them. TY so much!!!!1 point
-
Only for new containers you install. Change it back1 point
-
Solved found this post after looking over my syslog.txt in my diagnostics file stating an error in Mar 26 10:45:09 Unraid01 root: nginx: [emerg] cannot load certificate "/etc/ssl/certs/unraid_bundle.pem": PEM_read_bio_X509() failed (SSL: error:0908F066:PEM routines:get_header_and_data:bad end line) I moved all the file in /boot/config/ssl/*.* to a backup folder in /boot/config/ssl/backup and rebooted. After reboot i navigated to http://unraidIP and the webgui logged1 point
-
Check the user reviews on vendor sites that sell this Rosewill case and see if there are any reports of problems similiar to what you are having.1 point
-
I didnt have this issue before, but after recreating the file structure, I am getting the same error. If you run the built-in script `newperms /path/to/your/db/folder` it will resolve. That script effectively does the following... chmod -R u-x,go-rwx,go+u,ugo+X '/path/to/your/db/folder' chown -R nobody:users '/path/to/your/db/folder'1 point
-
You don't need to use the cli to clear the disk. Enable Destructive Mode in UD settings and use UD to clear the disk. Click on the red X next to the serial number. Show a screen shot of the disk in UD.1 point
-
You need to install it within the container itself, not on Unraid. For that your best bet is to talk to the container authors on how to do this. (Or try apt-get within the container itself, but that'll need to be redone after every update to the container)1 point
-
...nur zur SIcherheit die Nachfrage, ob der Zugriff eben auch wirklich aus dem I-Net erfolgt? WoL kann nämlich nicht zum aufwecken eines Systems dienen, indem aus dem *gleichen* Netz von einem Client ein Verbindingsversuch gestartet wird. Es geht nur über einen Trick, den die Fritz anwendet, wenn aus Netz-A (I-Net, die Fritz kann nur ein internes Netz) auf einen Host in Netz-B (Heimnetz) zugegrioffen wird. Diesen Verbindungsversuch kann die Fritz "abfangen/erkennen" und dann das WoL Paket im Heimnetz absetzen.1 point
-
Thank you! I will change the MACVLAN to IPVLAN in the docker settings (I had already done that actually, not crashes yet) and report back!1 point
-
@JorgeB, any thoughts as to what is going on the disk (sdj) in the above post?1 point
-
Snapshots are not enabled. Screenshot from source: destination: At first i did not think that these folders were in destination, and so I blamed LuckyBackup. I will try to remove these folders in destination too, and run luckybackup again.... I realize that I don't know how these files are created though, but when they are, LuckyBackup keeps copying from them, over and over again, without any changes. I will updated you when I have tried removing all of these files and run the backup again
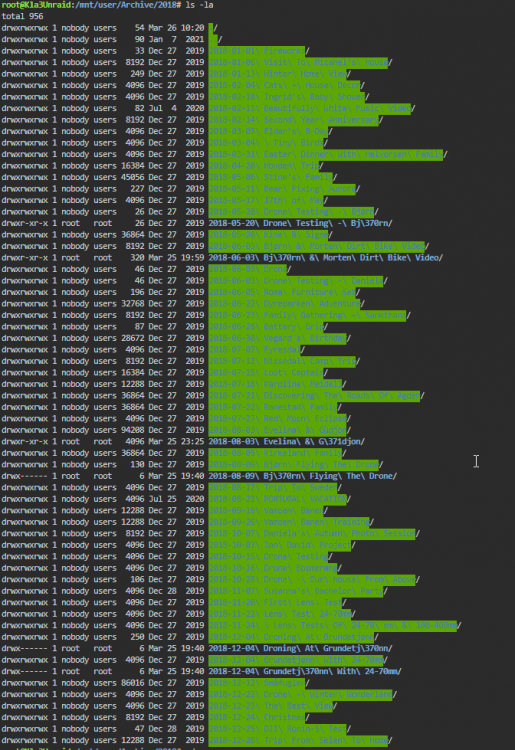
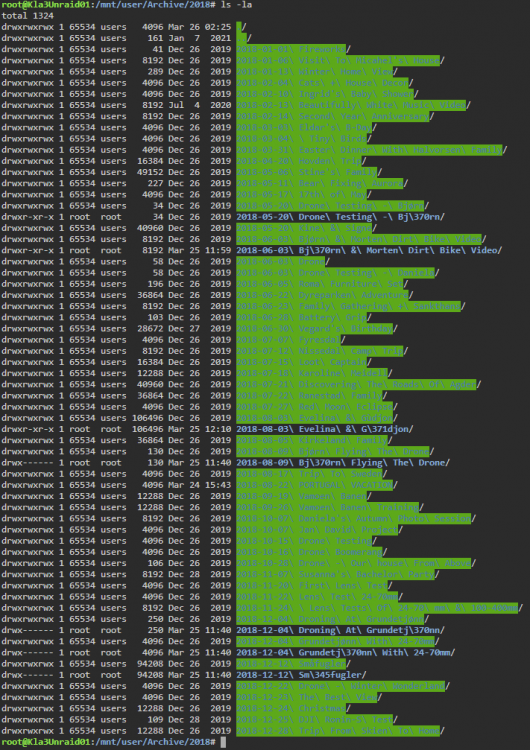 1 point
 -
No need to apologize... On Unraid it is general recommended and most of the containers out there are configured that way.1 point
-
Thank you for clarification. I will leave the UID everywhere at 99. I deleted the container (including the directory appdata) and reinstalled again. Now everything works fine again. I guess you are right, that I messed up something with the UID. Sorry for that.1 point
-
Which version of unraid? For 6.9.2 and below: probably your alias is sata0-0-2, unraid gui masks it, I don't know why, so add this before </domain> <qemu:commandline> <qemu:arg value='-set'/> <qemu:arg value='device.sata0-0-2.rotation_rate=1'/> </qemu:commandline> and make sure you have discard='unmap' in your disk block. Check if the disk is recognized as ssd: Boot mac os, go to About this mac --> System report... -> Sata Select the controller and you will see "support type" and "TRIM support": Support type should be solid state drive. If trim support is "No", run a terminal in mac os and type sudo trimforce enable ------------------------------- If you have unraid 6.10.0 RC1 and up, replace this: <disk type='file' device='disk'> <driver name='qemu' type='raw' cache='none' io='native' discard='unmap'/> <source file='/mnt/user/domains/macOS/macOS_disk.img'/> <target dev='hdc' bus='sata'/> <boot order='1'/> <address type='drive' controller='0' bus='0' target='0' unit='2'/> </disk> with this: <disk type='file' device='disk'> <driver name='qemu' type='raw' cache='none' io='native' discard='unmap'/> <source file='/mnt/user/domains/macOS/macOS_disk.img'/> <target dev='hdc' bus='sata' rotation_rate='1'/> <boot order='1'/> <address type='drive' controller='0' bus='0' target='0' unit='2'/> </disk> Check if the disk is recognized as ssd: Boot mac os, go to About this mac --> System report... -> Sata Select the controller and you will see "support type" and "TRIM support": Support type should be solid state drive. If trim support is "No", run a terminal in mac os and type sudo trimforce enable In both cases, if you have issues attach diagnostics.1 point
-
Your call trace mentions MACVLAN. It might be related to containers with custom IP. You should update to the latest 6.10 RC and change your docker network type to IPVLAN.1 point
-
Laut Rezensionen kann man im Grafiktreiber auch 4K120 einstellen, wenn der Adapter verwendet wird: https://www.amazon.de/Lindy-32115-Interface-Gender-Adapter-schwarz/dp/B07FMT5RNS1 point
-
Ahh, okay, that seems to be how plex is getting through. Good to note. I have gotten it to work, it appears the issue was with my changes not updating for port forwarding. Simply needed to restart my equipment. Thanks for your time (also for making all of the containers I see attributed to your name!)1 point
-
What I did to solve the problem - Terminal, cd to the config folder nano motioneye.conf input random text and save, to make nano create the file. Remove random text and save, to leave an empty file Start docker. Below is my log output for the docker, first before I did the above, then after: ---Before--- CRITICAL:root:failed to read settings from "/etc/motioneye/motioneye.conf": [Errno 2] No such file or directory: '/etc/motioneye/motioneye.conf' -----After-------- INFO: hello! this is motionEye server 0.42 INFO: hello! this is motionEye server 0.42 INFO: main config file /etc/motioneye/motion.conf does not exist, using default values INFO: cleanup started INFO: wsswitch started INFO: tasks started INFO: mjpg client garbage collector started INFO: server started1 point
-
Built in 2008 😀 still doing its job.
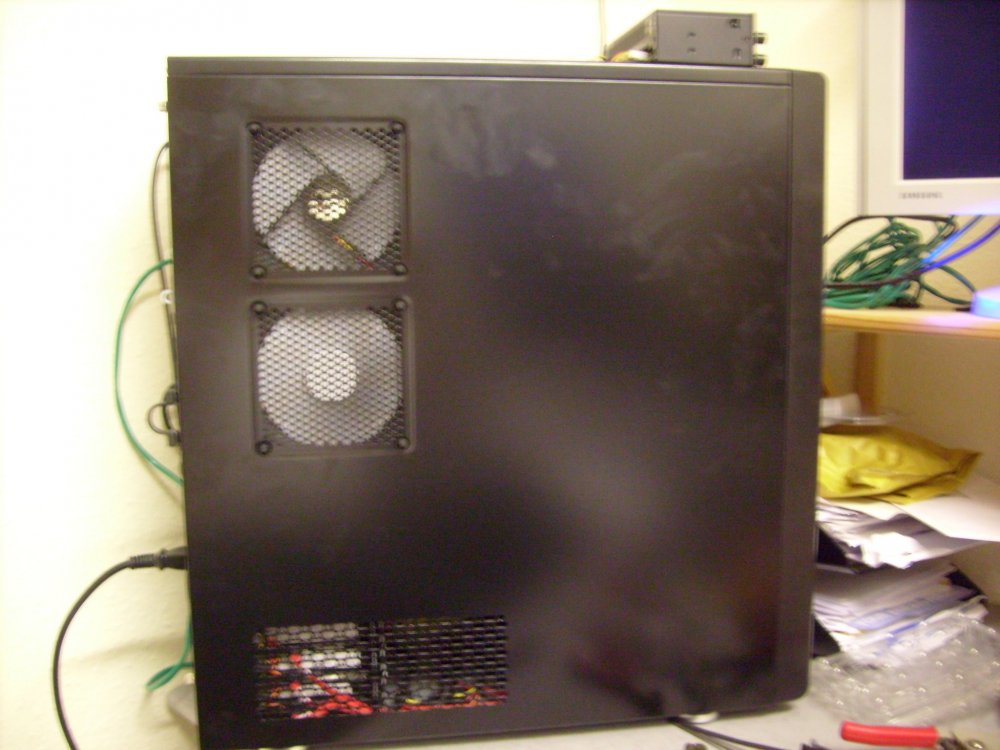
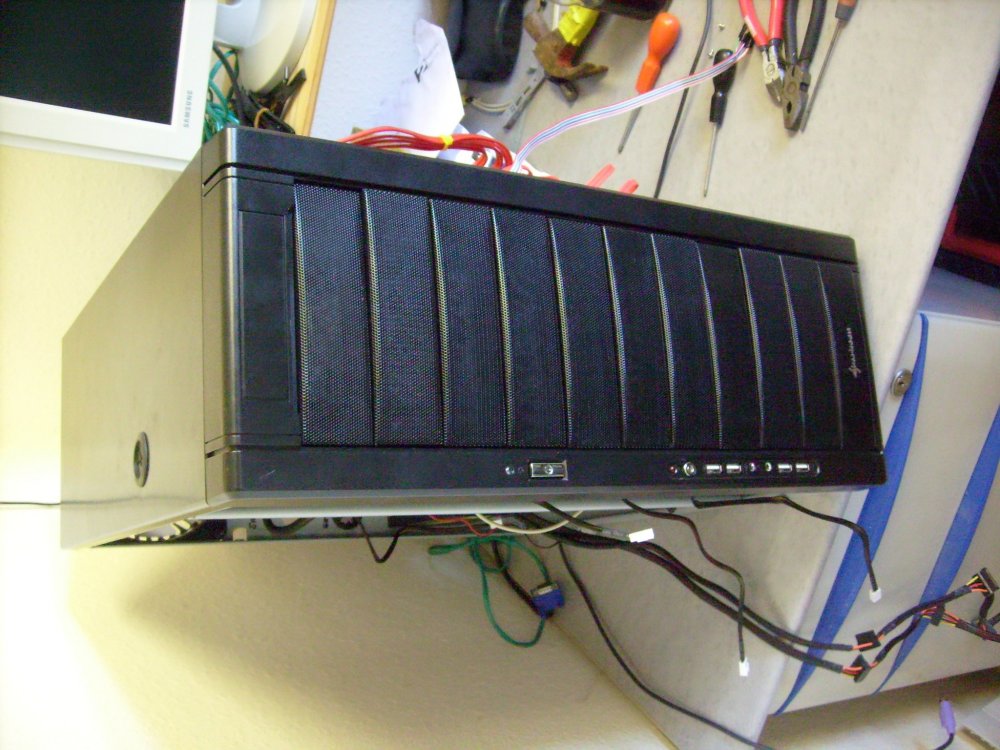
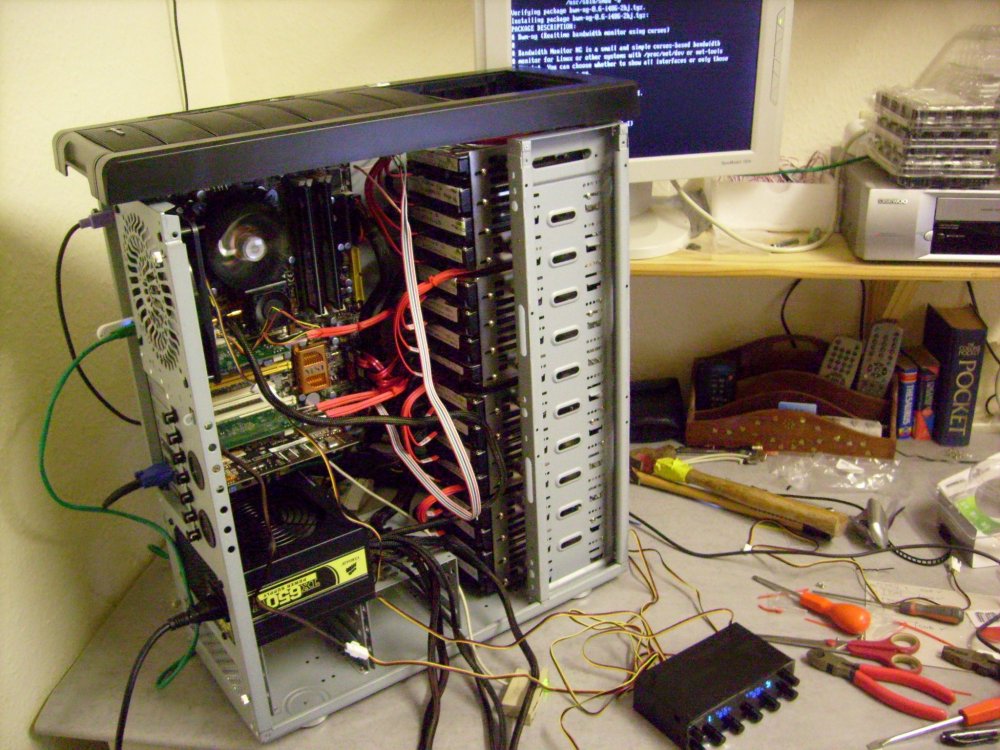
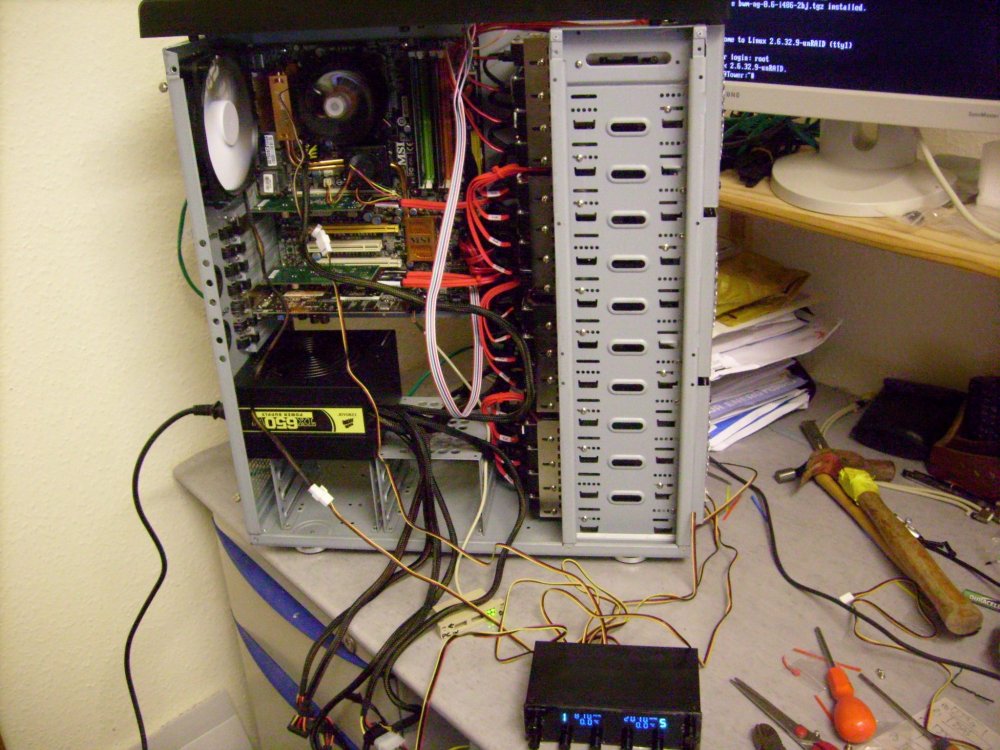
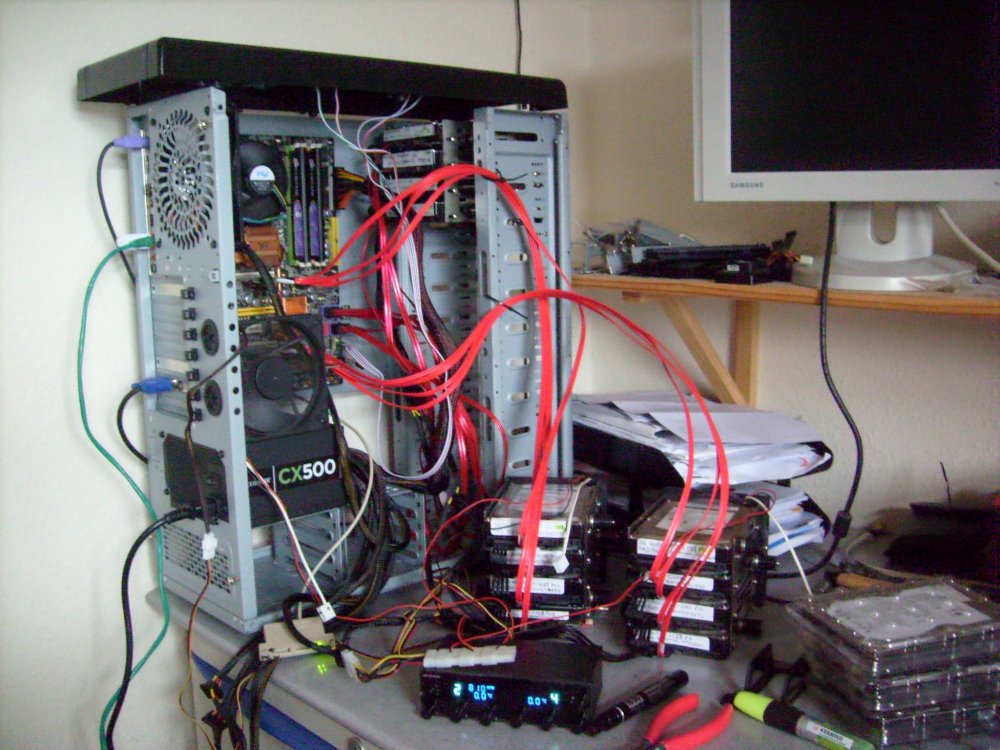 1 point
 -
Do what @trurl suggested and delete network.cfg from your flash drive and let a new one be created. If that does not work, you can manually edit network.cfg and set a static IP address and see if the server boots properly with that. To set a static IP address (that's a good idea anyway) edit your network.cfg to look like this: # Generated network settings USE_DHCP="no" IPADDR="10.1.18.xxx" (make xxx a number you know is currently available on your network; like 150 or something high) NETMASK="255.255.255.0" GATEWAY[0]="10.1.18.1" (this is just an example, set this to the IP address of your router/DHCP server) DNS_SERVER1="1.1.1.1" (these are the cloudflare public DNS servers, you could also set them to google; 8.8.8.8 and 8.8.4.4) DNS_SERVER2="1.0.0.1" BONDING="no" BRIDGING="yes"1 point
-

From the album: Community Created Banners
1 point