always67
Members
-
Joined
-
Last visited
Everything posted by always67
-
Perhaps I can set the CPU fan in the BIOS to adjust based on CPU temperature, and set the chassis fans to adjust based on hard drive temperature. After all, compared to CPU temperature, hard drive temperature changes more slowly.
-
Unfortunately, since CPU scheduling is dynamic, I don't really want to set a static fan speed. Since there is no way to use plugins to control the speeds of individual fans, I guess I'll have to try using a script to control them. Thank you.
-
@JackieWu @ich777any ideas please
-
最近把机箱从乔思伯N1换成了射手座。主板从铭瑄H610 ITX换成了B760m,主板有CPU fanx1,system fanx3。使用四把4pin的pwm风扇,两两并联,插在主板system fan1和system fan2,使用system temp和autofan两个插件,加载nct 6775驱动控制风扇转速。射手座机箱主板和硬盘左右分离,左边有CPU风扇和两把机箱风扇,右边是两把机箱风扇。autofan control可以识别到pwm1,pwm2,pwm6和pwm7,并且判断出pwm1是主板侧风扇,pwm2是CPU风扇,pwm6转速为0,推测为system fan3接口(未接风扇),pwm7为硬盘侧风扇。 现在遇到了问题,如果使用硬盘温度控制转速,会导致CPU温度到90多,风扇都还不转,如果按照教程插件改为CPU温度控制转速,又会导致风扇一直高速运转。而且现在一旦卸载这两个插件,机箱内五把风扇都会满速运转。 请问各位,有什么办法可以让主板侧的机箱风扇和CPU风扇根据CPU温度调节,硬盘侧的风扇随硬盘温度调节?
-
使用插件和替换文件都能正常驱动8156的usb 2.5g网卡,但是大概几分钟就会丢设备。 已经换了一个usb接口了,问题依旧。 jonsbo-diagnostics-20231025-1122.zipls/dev/dri好像是能看到三个显卡,但是设备里看不到
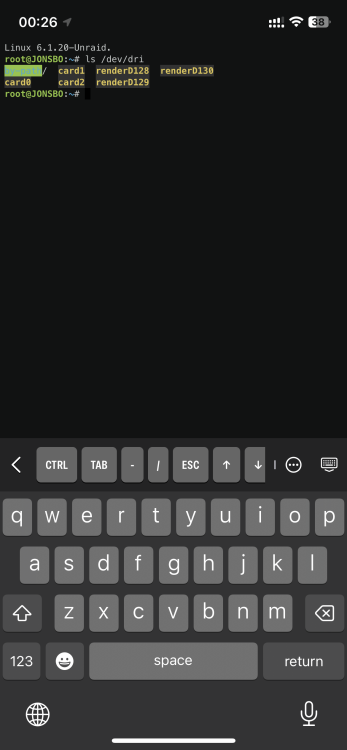
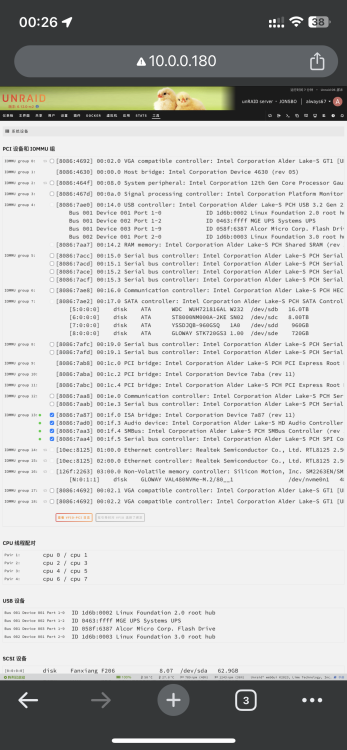 首先是位中文大佬? 我刚刚把系统升级到了6.12 rc2,安装了插件,也显示安装成功并重启了,但是并没有看到vf设备呢? 铭瑄h610itx+12100好吧,老老实实等更新了大佬,我看到你编译了6.10的内核,能不能编译个6.11.5的呢?我来测试显卡的SR-IOV功能。我看到有人在PVE的5.19内核使用DKMS的方式加载了i915的驱动,直通给Windows 虚拟机成功了。好吧。对我来说难度有点大,试试吧。Hey guys maybe we can try dkms to install i915 driver这是网卡吧,我想虚拟的GPU不行,看了下需要dkms,没找到unraid/slackware安装dkms的方法自已去官网下载window10(我是windows10成功) pve怎么安装windows10,请自行百度,或者看PVE官方教程 https://pve.proxmox.com/wiki/Windows_10_guest_best_practices agent什么类的该装上就装上 以下需要注意的点 安装window时 1、PCI的勾选,先不选主GPU,bios选OVMF,显示标准 2、安装完之后查看驱动版本 如果不是这个版本的驱动就去intel官网下载 https://www.intel.cn/content/www ... ws-dch-drivers.html 目前测试只有这个驱动版本没有问题 3、开启远程桌面测试一下远程桌面能不能用,然后关机 4、修改PCI,勾选上主gpu,开机,显示选无 5、3389过去The poster said that should use the special driver. Full guide as below: 一、安装5.19内核以及linux-header 1、安装linux-header apt update && apt install pve-headers-5.19.7-2-pve -y 2、安装5.19内核 apt install pve-kernel-5.19.7-2-pve 二、安装dkms apt install dkms -y 三、下载i915-sriov-dkms.tar 本帖隐藏的内容 链接:https://pan.baidu.com/s/1f97tgQacFl85vP8aKCc1ew?pwd=gxmg 提取码:gxmg 复制这段内容后打开百度网盘手机App,操作更方便哦 参考了 https://github.com/strongtz/i915-sriov-dkms 0、把下载好的包放到pve /root目录下,ssh到pve或者界面shelll 1、tar -xvf i915-sriov-dkms.tar 2、mv i915-sriov-dkms /usr/src 四、dkms安装i915 1、dkms install -m i915-sriov -v dkms 2、检查一下有没有成功 dkms status 正常输出如下 i915-sriov, dkms, 5.19.7-2-pve, x86_64: installed 五、修改内核参数 UEFI如下修改 找到 /etc/kernel/cmdline 添加 intel_iommu=on i915.enable_guc=7 如果intel_iommu=on 已经配置了就不需要了 更新内核initramfs update-initramfs -u -k all pve-efiboot-tool refresh grub启动的,自行百度 六、安装sysfsutils 这个工具方便配置sys的参数 apt install sysfsutils -y 添加开启vf的参数 echo "devices/pci0000:00/0000:00:02.0/sriov_numvfs = 7" > /etc/sysfs.conf 七、检查系统是否有12代的i915的firmware ls /lib/firmware/i915/tgl_guc_70.1.1.bin 如果不存在就执行下载 wget -P /lib/firmware/i915 https://git.kernel.org/pub/scm/l ... /tgl_guc_70.1.1.bin 11代的自行去找 https://git.kernel.org/pub/scm/linux/kernel/git/firmware/linux-firmware.git/plain/i915/ 八、重启电脑检查 dmesg | grep vf [ 5.004817] RAPL PMU: API unit is 2^-32 Joules, 3 fixed counters, 655360 ms ovfl timer [ 5.238952] i915 0000:00:02.0: i915_sriov_probe: gen12_pci_capability_is_vf in [ 5.238957] i915 0000:00:02.0: pf_verify_readiness: pf_reduce_totalvfs [ 6.424895] i915 0000:00:02.1: i915_sriov_probe: gen12_pci_capability_is_vf in [ 6.431447] i915 0000:00:02.2: i915_sriov_probe: gen12_pci_capability_is_vf in [ 6.436964] i915 0000:00:02.3: i915_sriov_probe: gen12_pci_capability_is_vf in [ 6.442156] i915 0000:00:02.4: i915_sriov_probe: gen12_pci_capability_is_vf in [ 6.446980] i915 0000:00:02.5: i915_sriov_probe: gen12_pci_capability_is_vf in [ 6.451589] i915 0000:00:02.6: i915_sriov_probe: gen12_pci_capability_is_vf in [ 6.455795] i915 0000:00:02.7: i915_sriov_probe: gen12_pci_capability_is_vf in 如上输出就正常了 可以去界面配置直通 若没有 dmesg | grep -i guc [ 4.112232] i915 0000:00:02.0: Direct firmware load for i915/tgl_guc_70.1.1.bin failed with error -2 [ 4.112236] i915 0000:00:02.0: [drm] GuC firmware i915/tgl_guc_70.1.1.bin: fetch failed with error -2 [ 4.205493] i915 0000:00:02.0: GuC initialization failed -2 输出类似上面的,说明firmware文件缺少对应的文件,直接按7去执行,再重启就OKYou need to sign in for more information, I can show you some pictures that the poster posted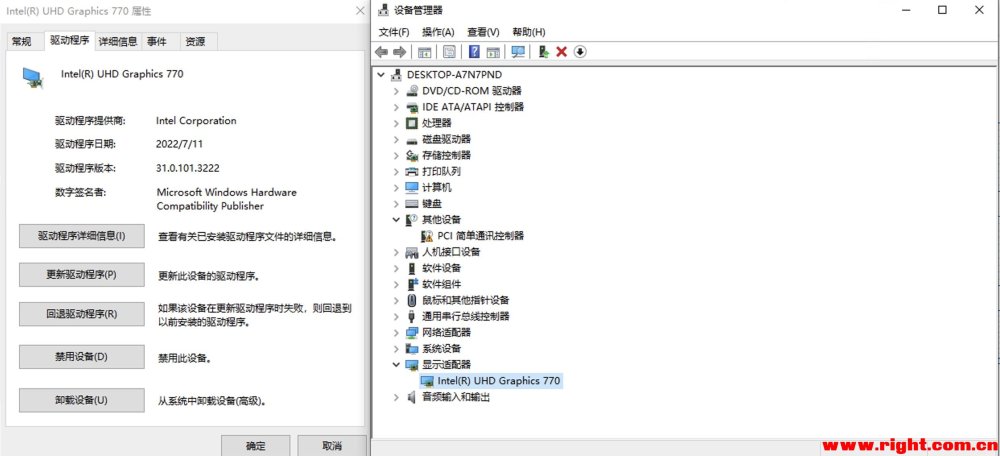
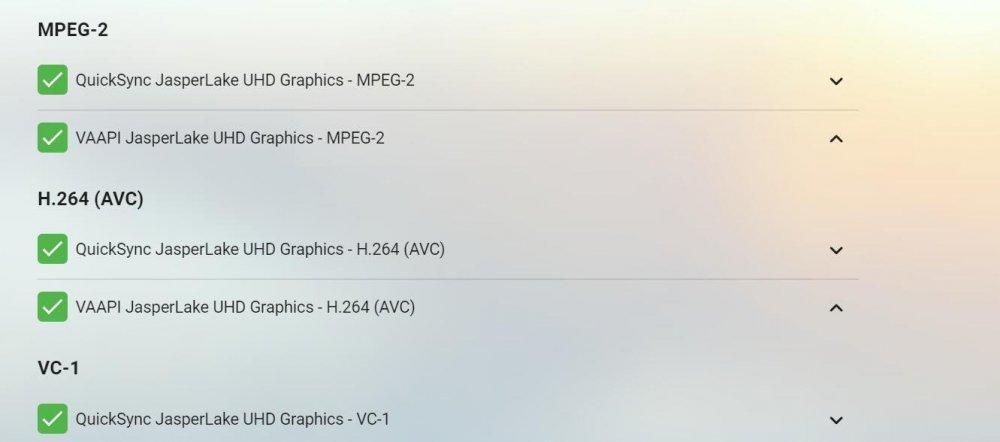
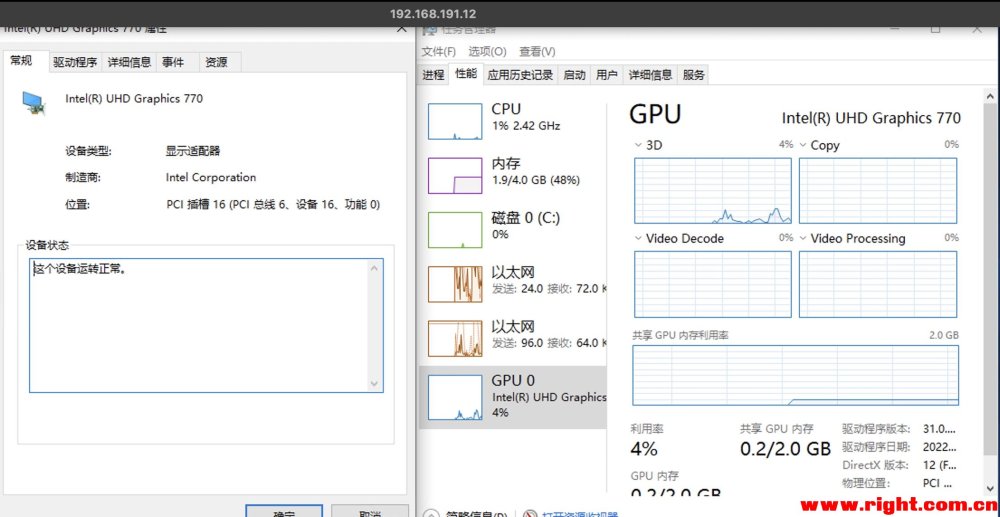 Here is a guide for PVE在恩山论坛看到PVE 7 5.19内核已经可以开启11代和12代的GPU sriov了,unraid 6.11.1的内核版本也是5.19,不知道能不能类比下开启呢?有没有大佬关注下 PVE开启intel 11代和12代gpu的sriov教程-更新直通windowIt's not which container that matters, it's how to restart the container when the printer is reconnectedfound the solution @ich777安装docker版的cups,打印机每次自动休眠后再开机,需要重启cups才能正常打印。 现在利用udev设置了‘mg2400.rules’mg2400.rules 内容很简单,就是检测插入USB,运行脚本rs重启cups的docker。 利用bash /root/rs的方式测试脚本是正常的,但是开关打印机并不能触发脚本是怎么回事? @ich777 do you have time to help me?it seems no need for JasperLake to blacklisk the i915 driver the only thing you need to do is enable the GUC/HUC echo "options i915 enable_guc=3" > /boot/config/modprobe.d/i915.conffresh install 6.10 echo "options i915 enable_guc=3" > /boot/config/modprobe.d/i915.conf reboot add /dev/dri to emby/plex docker everything is oknothing special