





dj_sim
Members
-
Joined
-
Last visited
Everything posted by dj_sim
-
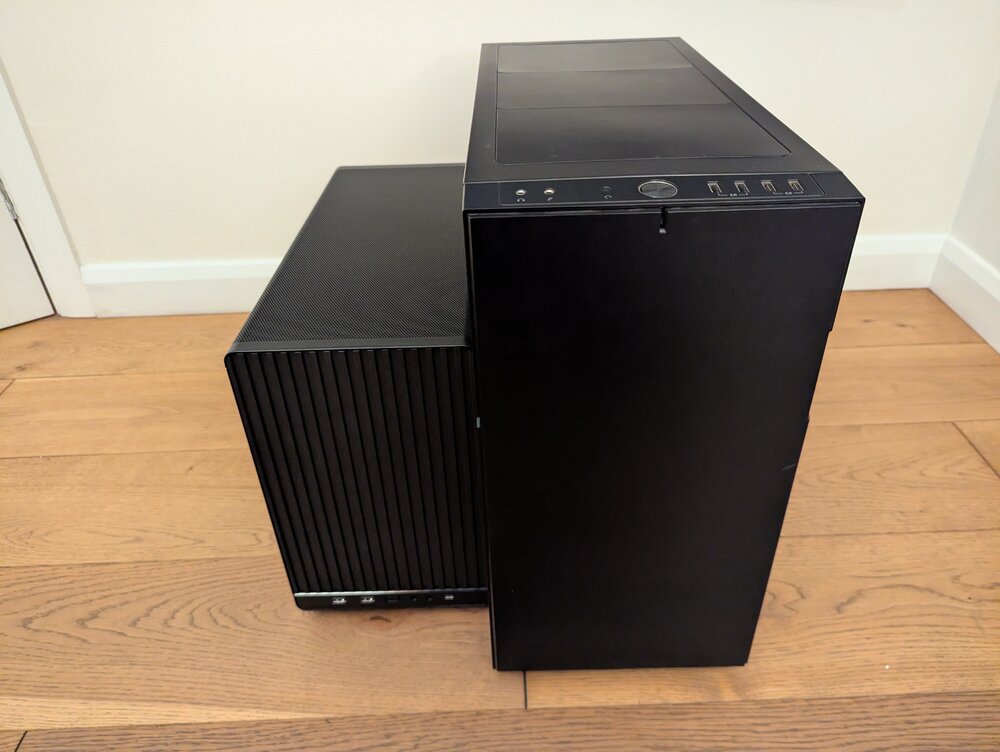
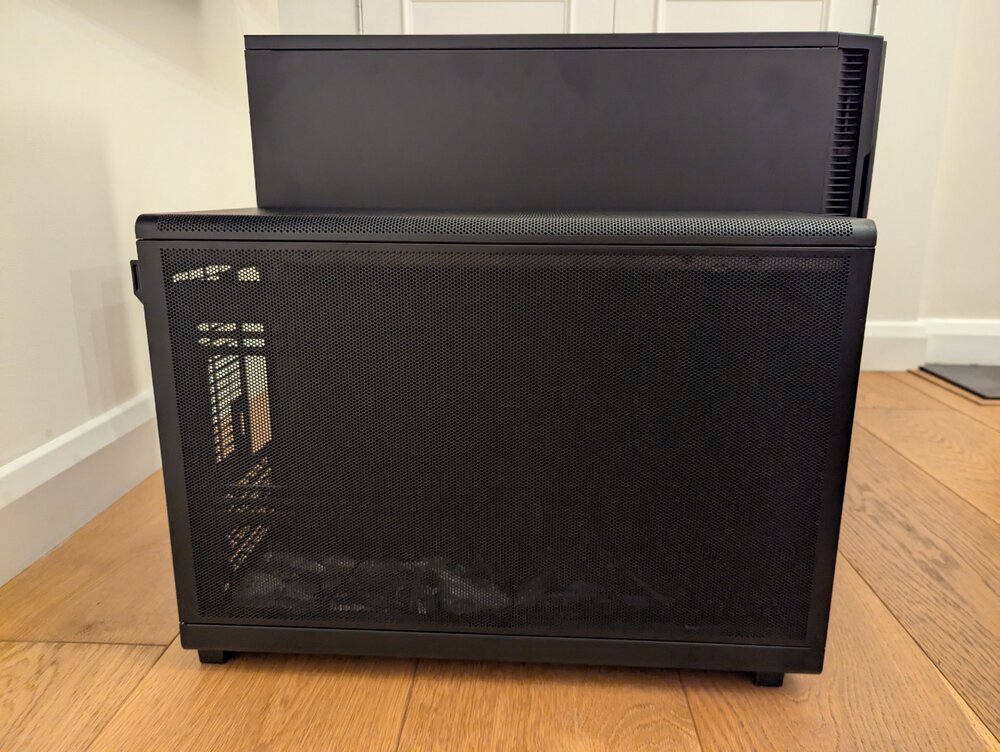
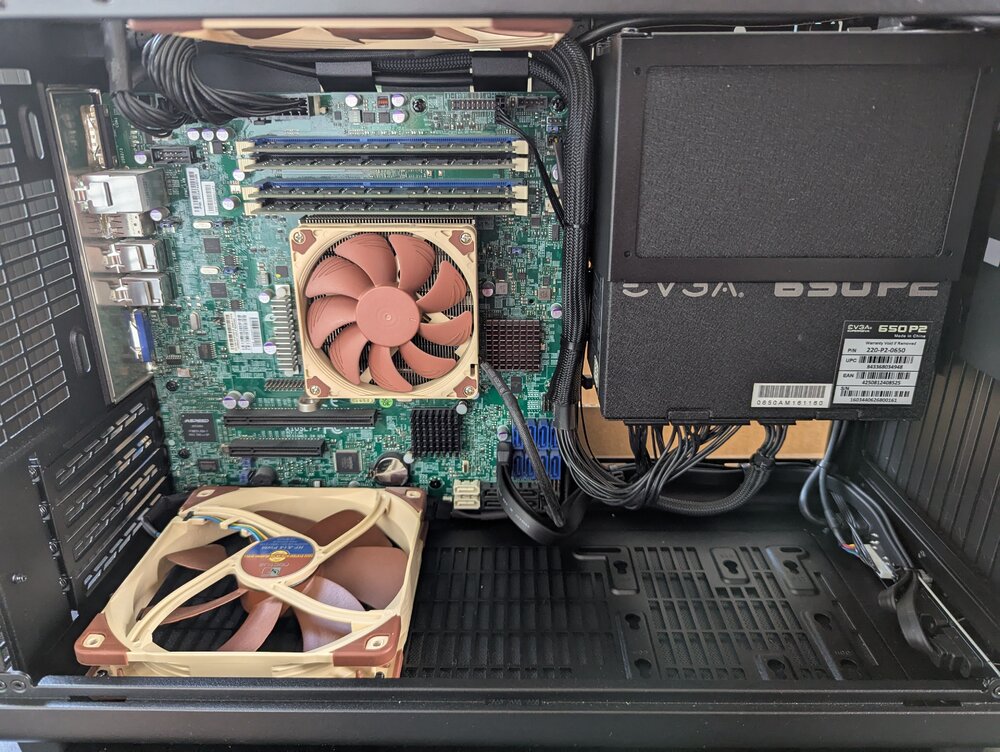
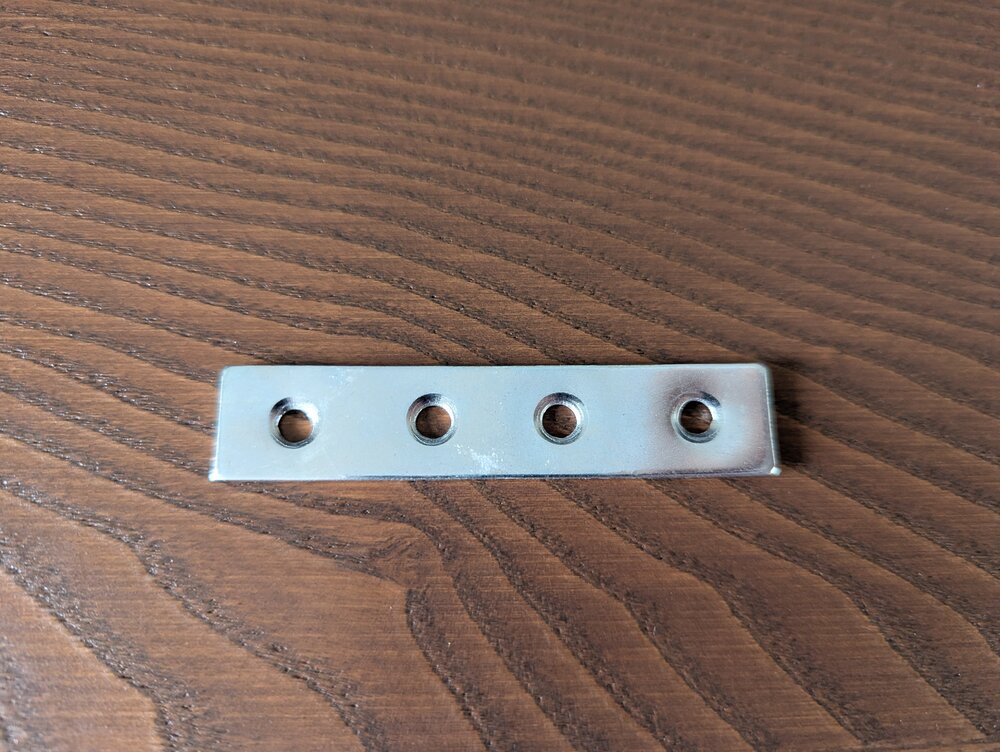
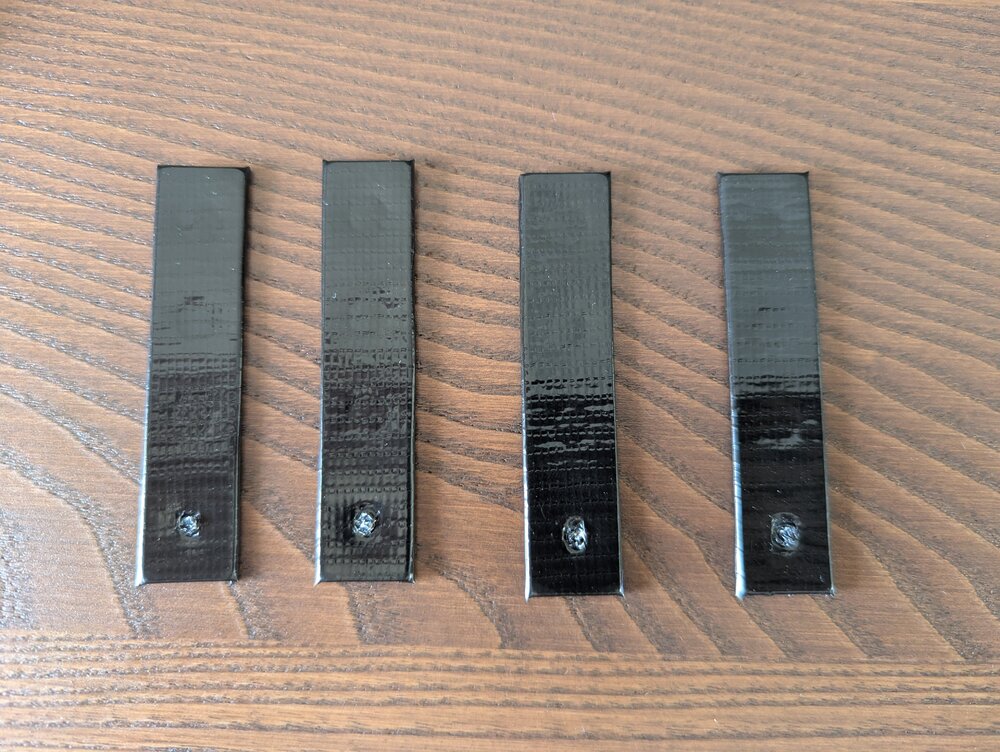
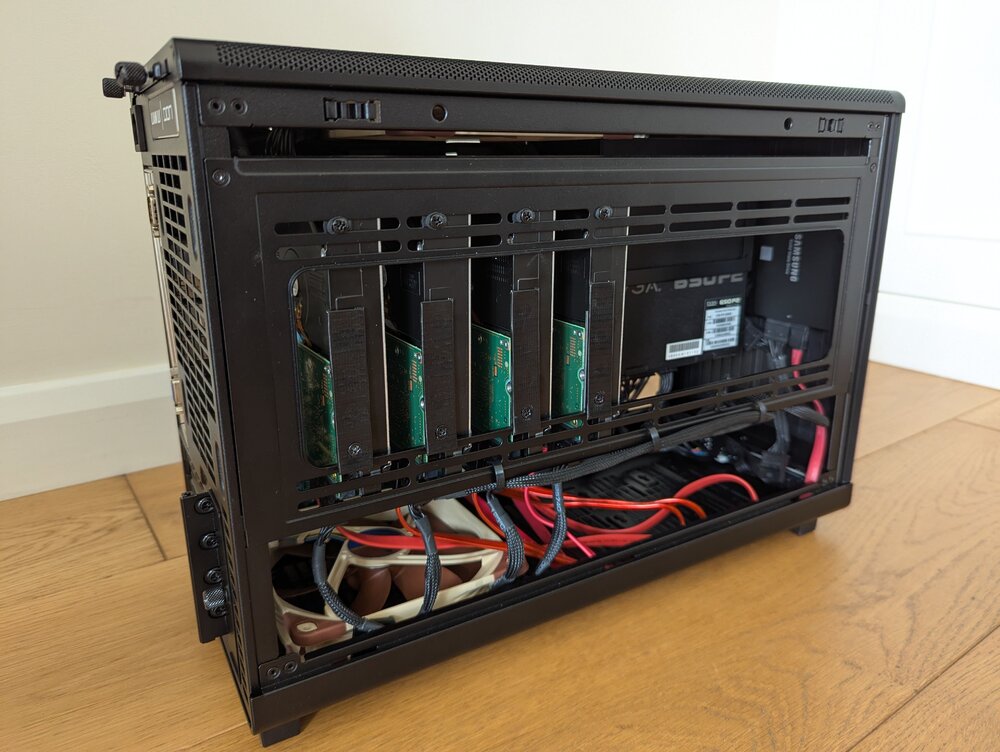
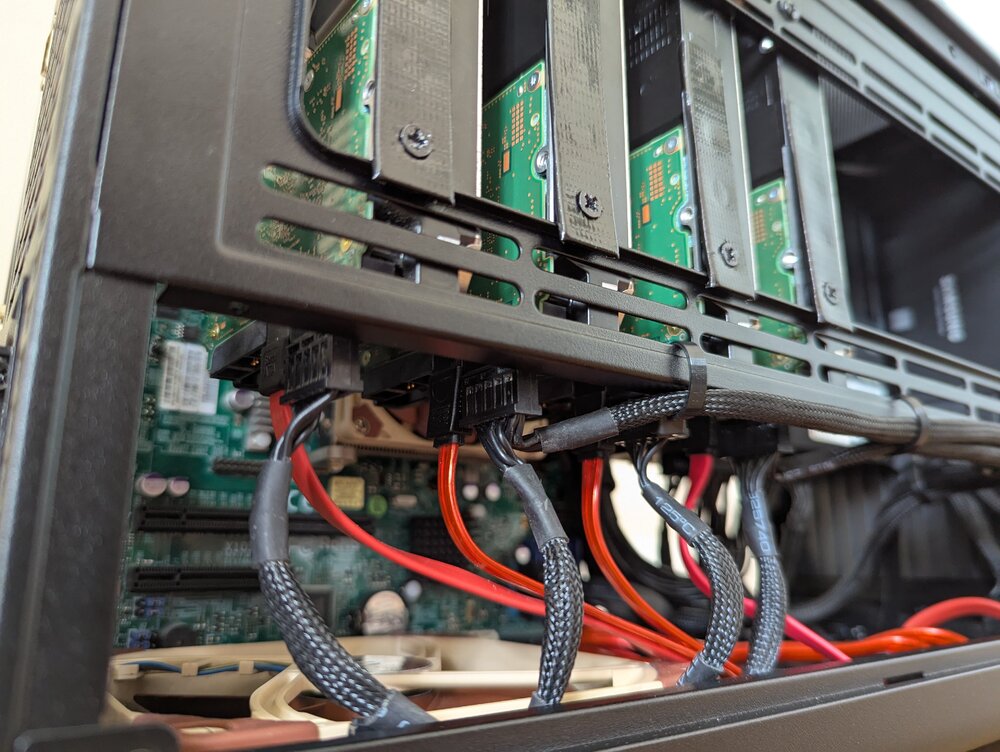
I wanted to downsize my build, the Fractal Define R5 and core system was purchased back in 2016 when I first got into Unraid, I wanted to find an mATX case that could fit a minimum of 6 drives without spending a fortune or having to change any hardware. Specs Supermicro X10SL7-F Xeon E3-1231 v3 32GB ECC DDR3 4 HDD - 1 SSD EVGA 650 P2 Platinum PSU The Lian Li A3 DAN case looked perfect, I figured I could use the GPU side bracket as a HDD bracket, I used off the shelf metal brackets wrapped in some black tape. Idle power draw is 20w. The case is very nice with great build quality and tons of air flow, and options to add more drives if needed at a later date. Size Comparison Without any drives Brackets Fully assembled (side panel off)
-
Thank you @mgutt for your detailed instructions. I have a Supermicro x10sl7-f that was using 38watts of power with the drives spun down and over 60 when in use. [E3 1231 v3 Xeon] I enabled power top and learnt that the onboard SAS controller was preventing it from going past c3. Set the jumpers on the motherboard to disabled for the SAS, lan 2 and VGA output. Disabled PCIe in bios along with powertop - auto-tun My server now goes into c7 with a 20w idle. 5 x 3.5" and 1 ssd spun down. 4 WD 3.5"'s running draws around 35w in basic use. Has anyone else managed to get a below 20w idle on this board.
-
Did you get it working?
-
In unraid go to the docker tab and click console on nextcloud-aio-nextcloud container (not the master container) Check Mounted Volumes: df -h. This shoudl show shfs /mnt/user in the list Check Permissions: Navigate to the directory where the external storage is supposed to be mounted and check the permissions. ls -l /mnt/user/Filme Test Access: touch /mnt/user/Filme/testfile ls -l /mnt/user/Filme Mine shows as root owner and root group. I hope this helps narrow it down.
-
Mine are the same.. Super weird!!! I'd try making a new share, and messing around with the permissions to see if you can get a green tick mapped.
-
Check if yours are the same: docker exec nextcloud-aio-mastercontainer id uid=0(root) gid=0(root) groups=0(root).. Only other thing that comes to mind, is your adblocker stopping your password prompt appearing when you change the path to get the green tick?
-
My shares are also showing drwxrwxrwx 1 nobody users.. and your shfs is showing /mnt/user not just / Is there anything showing in the nextcloud log that might be useful?
-
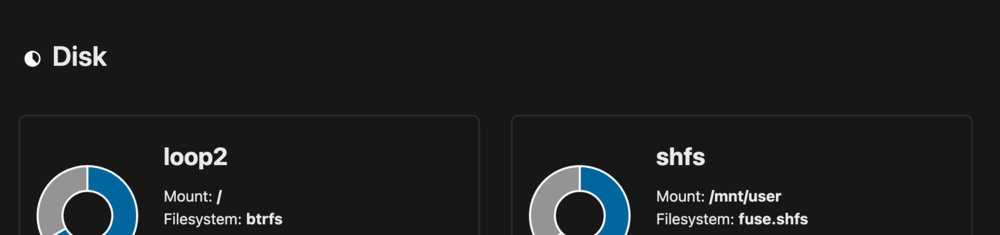
Try going into nextcloud administration and scroll down to the very bottom system tab. On there it should show you if the share has mounted, mine is showing as SHFS... I wonder if you can see this on yours, if so then I would guess there is a permissions issue that may need dealing with (chmod) Sorry but I'm clutching at straws here!
-
Did you restart all the containers from the AIO admin panel? If you did have a look here: https://github.com/nextcloud/all-in-one#how-to-allow-the-nextcloud-container-to-access-directories-on-the-host Was the variable present with mnt/user when you first installed the container? as this uses variables insetead of paths I believe they are set when the docker is created not when it starts.
-
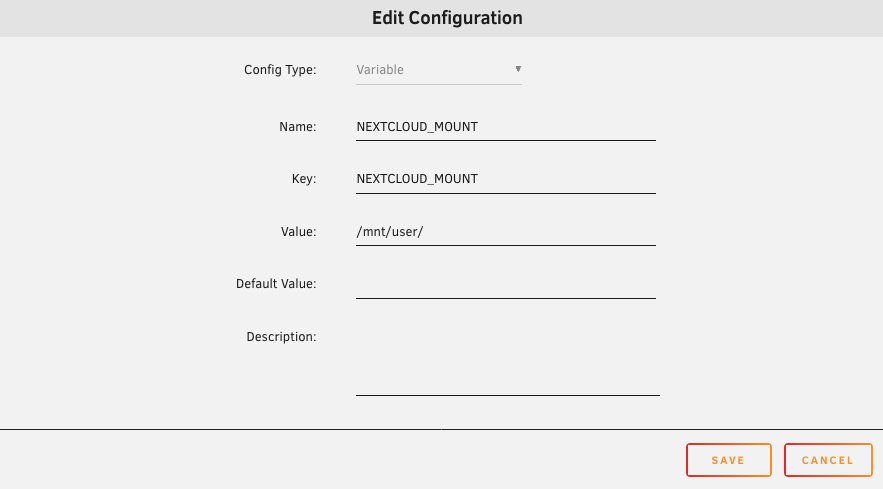
Hi Double check that your nextcloud master container has the NEXTCLOUD_MOUNT variable set as /mnt/user/ The example of Share is case sensitve. e.g if you have a share called Media it should be set as /mnt/user/Media under the external storage configuration box.

-
Congrratulations @SpaceInvaderOne!
-
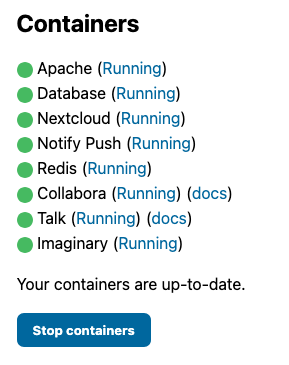
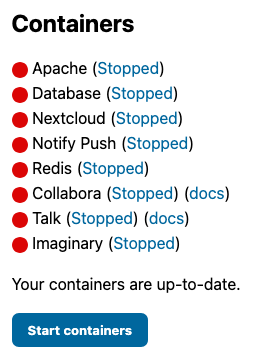
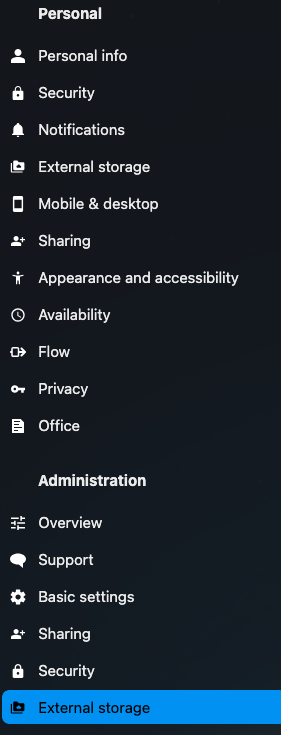
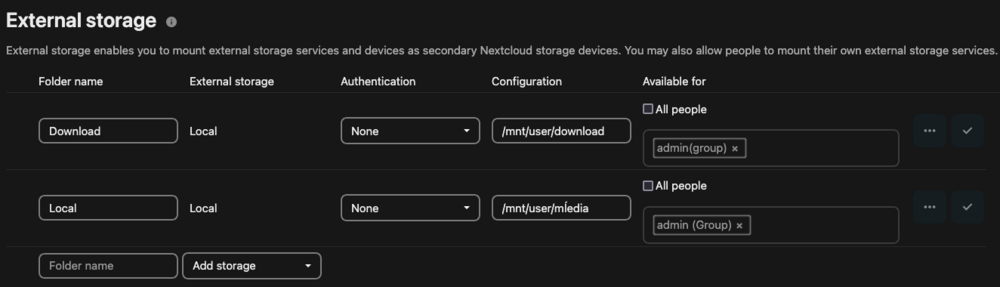
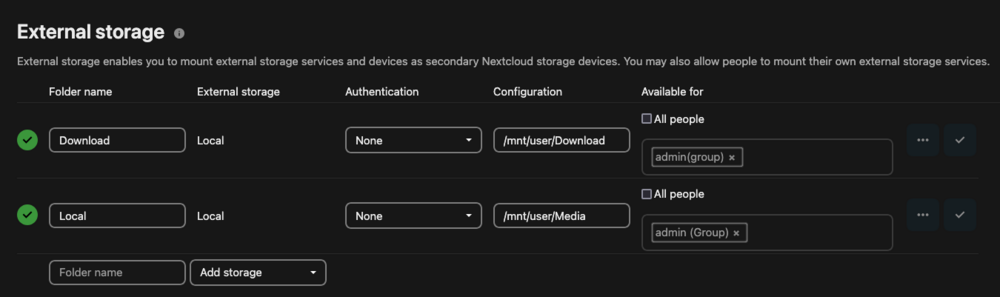
I've managed to get this working today after following the excellent @SpaceInvaderOne tutorial on nextcloud AIO. Add the variable to the nextcloud-aio-mastercontainer save and apply to the container. Go to the Nextcloud AIO control page IP:7282 and click stop all containers. Click start containers. In nextcloud go to apps and enable "External Storage Support" Then go to "Aministration Settings" and select External storage from that lower list. [NOT THE ONE UNDER PERSONAL] Here you can now configure your local mappings, be sure to click the tick to the far right on each entry. It will give you a red x if you cant get to the folder. Green ticks for the win! I hope this helps someone. But I require some help with the permissions, all my dockers at set to nobody, but the nextcloud-aio dosent have GUID UID settings, and data is owned by sshd instead of nobody. How can I fix this please?
-
Thanks for your detail here, I used it to get things working just! I followed Spaceinvader One's Effortless Nextcloud AIO Setup on Unraid tutorial, I wanted to use my existing proxynet swag setup from his previous Installing Nextcloud on Unraid 2022 pt1 instead of using tailscale. When I installed the nextcloud-aio-mastercontainer I selected my network type as Custom: proxynet, this is the custom docker network swag is on. Once the AIO containers all downloaded I modified my SWAG files below: My original SWAG nextcloud.subdomain.conf server { listen 443 ssl; listen [::]:443 ssl; server_name nextcloud.*; include /config/nginx/ssl.conf; client_max_body_size 0; location / { include /config/nginx/proxy.conf; include /config/nginx/resolver.conf; set $upstream_app nextcloud; set $upstream_port 443; set $upstream_proto https; proxy_pass $upstream_proto://$upstream_app:$upstream_port; # Hide proxy response headers from Nextcloud that conflict with ssl.conf # Uncomment the Optional additional headers in SWAG's ssl.conf to pass Nextcloud's security scan proxy_hide_header Referrer-Policy; proxy_hide_header X-Content-Type-Options; proxy_hide_header X-Frame-Options; proxy_hide_header X-XSS-Protection; # Disable proxy buffering proxy_buffering off; } } Amended SWAG when using Nextcloud AIO server { listen 443 ssl; listen [::]:443 ssl; server_name nextcloud.domain.tld; include /config/nginx/ssl.conf; client_max_body_size 0; location / { include /config/nginx/proxy.conf; include /config/nginx/resolver.conf; set $upstream_app IPYOUACCESSUNRAIDON(EG192.168.1.80); set $upstream_port 11000; set $upstream_proto http; proxy_pass $upstream_proto://$upstream_app:$upstream_port; # Hide proxy response headers from Nextcloud that conflict with ssl.conf # Uncomment the Optional additional headers in SWAG's ssl.conf to pass Nextcloud's security scan proxy_hide_header Referrer-Policy; proxy_hide_header X-Content-Type-Options; proxy_hide_header X-Frame-Options; proxy_hide_header X-XSS-Protection; # Disable proxy buffering proxy_buffering off; } } To highlight what I have changed: server_name the full url used before for your nextcloud install e.g nextcloud.yourdomainame.com upstream_app UNRAIDSERVERIP; upstream_port 11000; upstream_proto http; (this was HTTPS) I also uncommented the following in the SWAG ssl.conf file to remove the errors showing in nextcloud. add_header Referrer-Policy "same-origin" always; add_header X-Content-Type-Options "nosniff" always; add_header X-Frame-Options "SAMEORIGIN" always; add_header X-XSS-Protection "1; mode=block" always; Can someone check I have this right.. its working and gets A+ on ssllabs and the nextcloud test. FYI I cannot get the nextcloud-aio-domaincheck to run, it gives me Execution error server error, I think this is due to the fact that the LAN IP:Port is the same as the nextcloud-aio-apache LAN IP:Port.
-
Hi Please can a template be made in CA for VWsFriend https://github.com/tillsteinbach/VWsFriend?tab=readme-ov-file Many thanks





