


Sperko
Members
-
Joined
-
Last visited
-
I'm kind of at a loss. I recently swapped out my cache drive and had to create a new Windows 11 template using the original vdisk. Everything seems fine except when I try to use noVNC I have no use of the mouse. It works fine in SPICE and RDP. I can select the left-side options, but the moment I touch any part of the desktop within noVNC there's no cursor (like it's going behind a layer) I can use the keyboard though. Just a moment ago as I was trying this I reverted back to VNC after trying SPICE, now I can see the cursor but I cannot interact with the VM desktop at all. But I still can use the options and the scrollbar on the right side. It's not a huge deal since I primarily use RDP and can fallback to SPICE but I don't like leaving things broken and would like to learn why this is happening and how to correct it. VNCissue.mp4
-
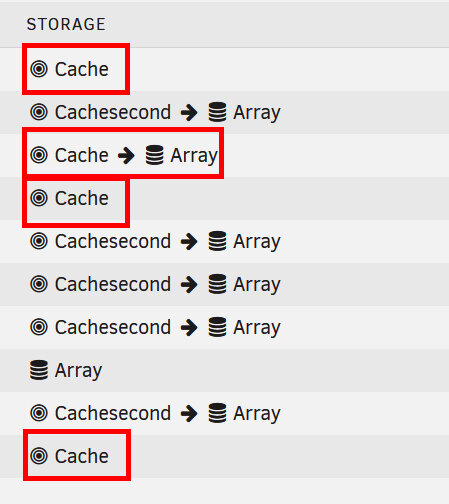
Edit: Decided to just go with it. I panicked initially when I didn't see my VMs (wouldn't have been the end of the world, but Window installs are no fun), but then I created a new one and pointed to the vdisk.img file and everything seemed good. But I was having issues connecting to it. I should have taken a screenshot of the settings. But after messing around it finally connected but at half the speed that I have. After additional playing around I'm finally back to where I was. Original post below. I bought a newer cache drive to replace the one I am currently using. I have two cache drives, both NVME. Just need confirmation before I do this: Is the proper way to do this is by: Stop Docker Stop any VMs Mover rule to take everything in the drive I want to replace to move to my second cache (anything currently showing "cache01>array" or "cache01" alone to change to "cache01>cache02". Invoke Mover Unmount cache01 remove physical drive install new physical drive mount new drive reversal of step 3 (Mover: cache02>cache01) invoke Mover revert original state of the shares from step 3 I guess I could just stop at step 8, but would I need to make any changes if I did so, like Docker or VM settings (I assume yes, as their settings are looking for a specific drive name (or something). Could I just rename the caches to avoid that (i.e. cache02 is now cache01)? Thank you!
-
Not long ago I built a new gaming PC and stowed away everything into a box and in the closet. But I was thinking there had to be something I could use it for. And that's when I kept coming across the acronym: NAS. I'm not a patient person so I went through a couple other systems and Unraid just seemed to click with me. And recently I "discovered" containers and what they do and running a legit virtual machine. Now I have a Windows (and Linux) that I can mess with and without fear that I won't have a usable system because I did something risky. And I did not plan this to happen at all, but I ended up getting another motherboard for more SATA ports, upgraded from 16 GB to 64GB of RAM. Said screw it, swapped out the Ryzen 7 5800X for a Ryzen 9 5950XT because I wanted to play with more cores. And just a moment ago I got my network going in 2.5gb (I wanted 10gb but a lack of PICe lanes seems to be a thing). Unraid has been a champ. I've had to lurk around for some miscellaneous issues, but so far thanks for the answers I've found I've been able to get back in running in no time. Just wanted to give a shoutout to the helpful people here. Although you didn't directly help me, by helping someone else you still did help me.
