




Sinclair13
Members
-
Joined
-
Last visited
-
Thank you so much for everything. You've been amazingly patient and I will go find guides for fixing my cache and 8TB drive that are still in Reiserfs so that I don't screw them up like I did this! (knock on wood) Thank you!!
-
ok, everything is finished!

-
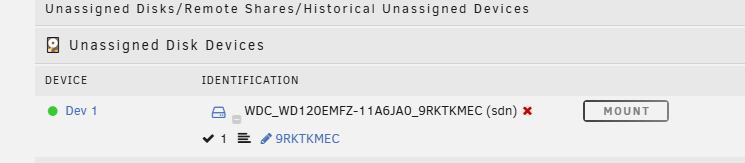
Hmm, I think I did something wrong. The parity rebuild finished a little earlier today. But now I'm typing the command and getting an error. I did: rsync -a --info=progress2 --exclude=lost+found /mnt/disks/9RKTKMEC/ /mnt/user/ and it returned an error. Cheking the Unassigned Devices on the Main tab it shows: And in Settings under Unassigned Drives it tells me So I'm pretty sure I have the mount point correct. Checking the disk log I see: So I'm assuming the "mount" button being grayed out isn't like that because I clicked it earlier, as I assumed. I'm attaching a fresh diagnostic as well, just in case. tardis-diagnostics-20261019-1924.zip


-
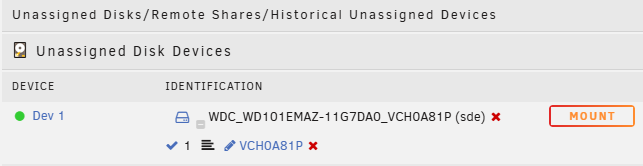
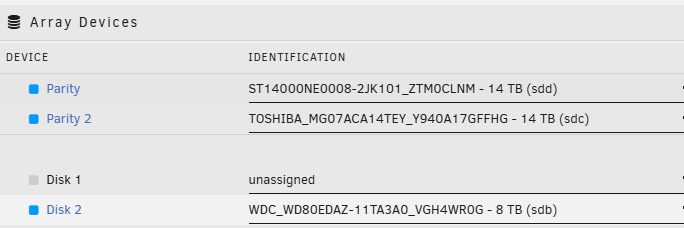
Good to hear everything seems to be intact. Unmount the drive = check There is definitely NOT enough room on my other disks to hold the information. They each only have about 350GB of space. The old 10TB drive is sitting in Unassigned Disks I've started Step 3 but want to verify before I continue. "Go to Tools > New Config, set "Preserve current assignments" to All, and apply." = done You want me to Set Disk 1 to "unassigned" okay. All the other disks are where they should be (done) and now you want me to start the array. Which will destroy the current parity, but my data is on the 12TB drive so I don't have to worry. Sorry, to this point you've been very specific in DO NOT TURN ON THE ARRAY. I just want to make sure I'm following correctly. Thanks for handholding me through this.
-
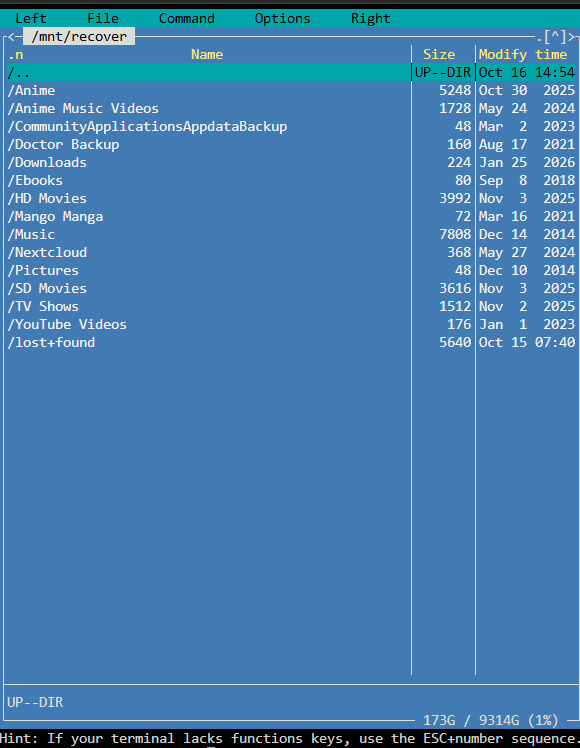
Done. My old 10TB drive had 365GB free. It was using 9.64TB. I browsed around and was very happy to see what I think are the vast majority of my files! edit: spelling
-
One Rebuild Tree text file attached! I'm not sure why it doesn't go all the way back to the beginning though. nor why scroll mode now suddenly works, I had toggled scroll mode before and it didn't work, but now it does. And scrolling all the way up doesn't show the beginning either. rebuild-tree.txt
-
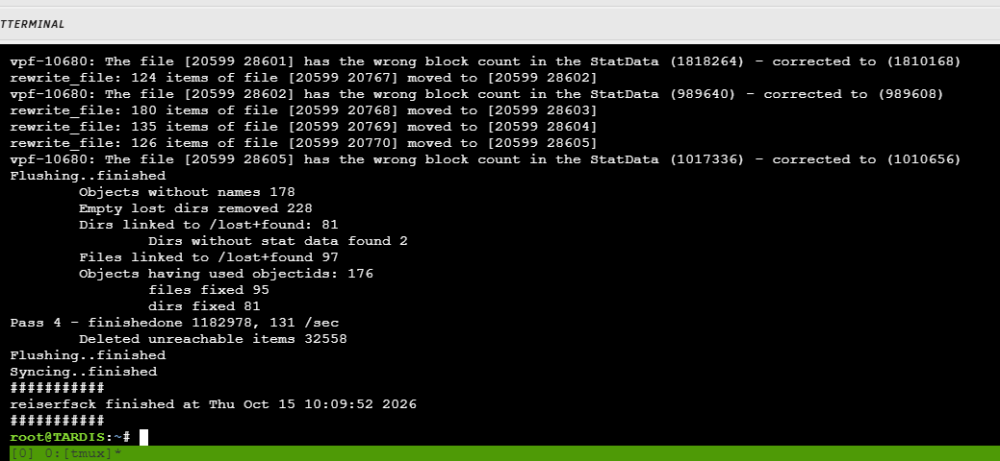
ok, I did the step and it finished. the Tmux terminal isn't letting me copy...it has its own internal buffer, that doesn't interact with the system clipboard? I am able to enter Copy Mode Ctrl + b + [ , use Ctrl + SPACE , to start selection mode, select everything and then press Alt + W to copy everything. So I got that far...I think. but moving it to Windows clipboard? Here's a copy of the end using Windows Snipping Tool. Looks like everything finished properly?
-
Ok, I've installed TMUX and it looks good. Do I need to redo the previous work in the TMUX command prompt area? Or am I good to go with the next step? reiserfsck --rebuild-tree -S /dev/sdn1
-
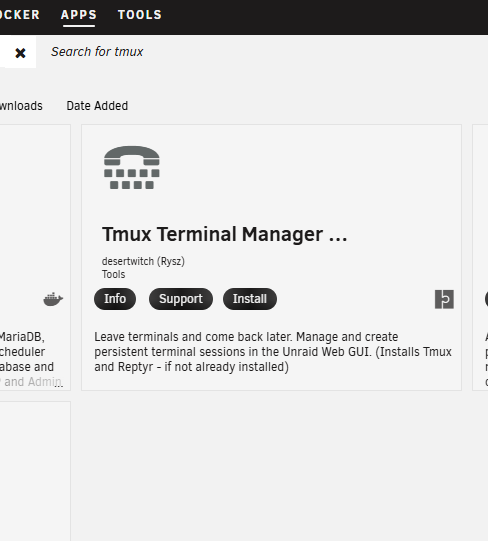
Ok, I don't have the TMUX plugin, I've been using the Terminal window opened by the Command Prompt (Greater Than-Underscore) symbol at the top of the screen. If I download the TMUX plugin will that hurt something? I assume I would install this one?
-
It was still running. Which I now realize should have been obvious to me. It finished and here's the full output.
-
Ok, I believe I have followed your directions properly. Here is the full output.
-
I am as certain as I can be. I'm the only one with access to my server. I began this misadventure on the 3rd by stopping the array and installing the new parity disk. As soon as that was done rebuilding I tried swapping out the 10TB disk for the 12TB, let it rebuild (or whatever phrase is proper), and got us here. From 130am to 1045 on the 3rd - Unless it was some automatic thing, I did nothing. I'm guessing this is a bad thing.
-
Nothing has been written or copied since Oct3, to the best of my recollection. It just went to the next line. Is it capitalization sensitive? Should I have replaced sdn1 with sdn instead?
-
Yes I was. Among the new hardware I bought was a Rosewill H424 and an LSI 9305-24i card. I couldn't get the Motherboard's onboard 2.5 ethernet port to work so I put in the 2.5 nic from my old build and it worked just fine. I absolutely love this case and it makes me even angrier that I didn't buy the Crashplan Storinator I found on Craigslist back in 2018 at half the price I paid for this thing. Sigh, such is life.
-
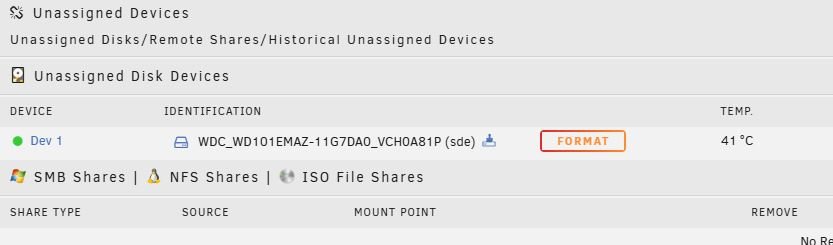
Nothing is something I can do very well. LOL I ran blkid -p -O 32768 /dev/sde and nothing happens, it just goes to the next line. I assume I'm doing something wrong. Or its not returning anything because there's nothing to return. root@TARDIS:~# blkid -p -O 32768 /dev/sde root@TARDIS:~# I don't believe I have turned off the server since starting this debacle. it has over 7 days uptime, so if I did turn it off after screwing up, it would have been right afterward. I have attached the diagnostics as requested. I formatted from the Main page under "Unassigned Disk Devices" I'm stealing that line. Yes, I should have definitely looked up what to do. Instead of just "doing". Thank you all! -Will tardis-diagnostics-20261009-1528.zip