





Denyson
Members
-
Joined
-
Last visited
-
Got it! I have the allocation method set for most free. I appreciate all the assistance I received, and I'm glad everything seems to be working smoothly. I'll do some additional research on the allocation method. Thanks again, everyone! I hope this thread will serve as a helpful resource for others who may encounter similar questions in the future.
-
I've set up the new drive and it's ready to go! How does Unraid handle data intake into that new drive? Is there any kind of balance operation that I need to do? Does the process happen automatically over time? Also, is there a way to ensure all drives in my array have an equal amount of data, so one drive isn't overfilled while another is almost empty?

-
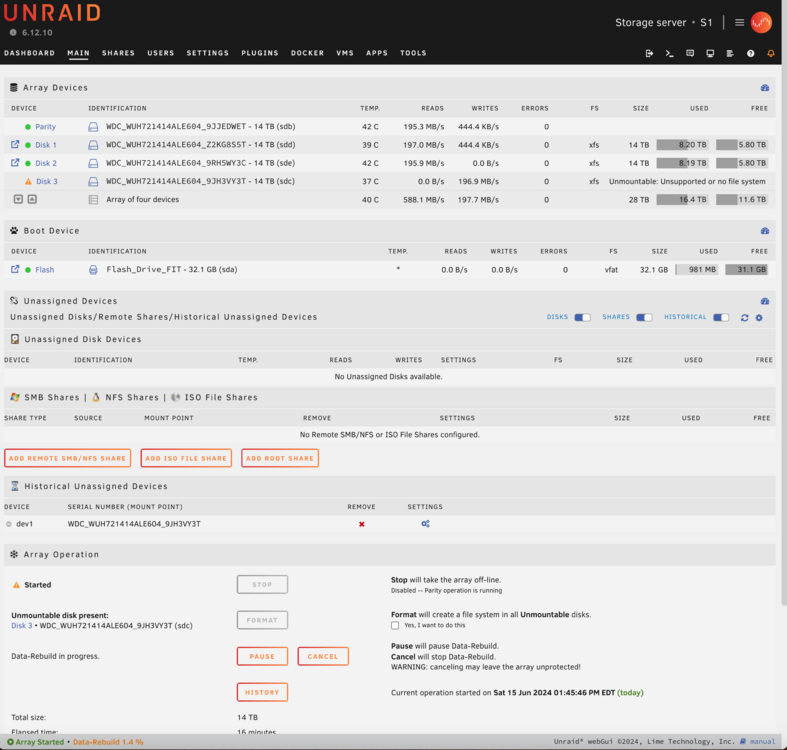
No, it did not have any data on it. This is how the array looks right now.

-
So I would need to format it after the zeroing operation?
-
I attempted the repair by following the Unraid documentation from the link above, which I now know is inaccurate. Moving forward, after completing the zeroing operation, the plan is to not format the drive and see if it gets added back to the array. However, if it doesn't get added to the array and still shows as 'Unmountable: Unsupported or no file system', what steps should I take next?
-
No I did not. What I did its stopped the array and added the drive as disk 3 from the drop down menu. Started the array back up. I don't think there was anything on it. Is there any documentation on how to use this new config tool? I'll need that procedure to add another drive in the future.
-
I've added the drive back to the array. It says the array is rebuilding but the drive still shows up under Historical Unassigned Devices. Im also concern on the Size Used Free says "Unmountable: Unsupported or no file system" Please advise if there are any additional steps I need to take.
-
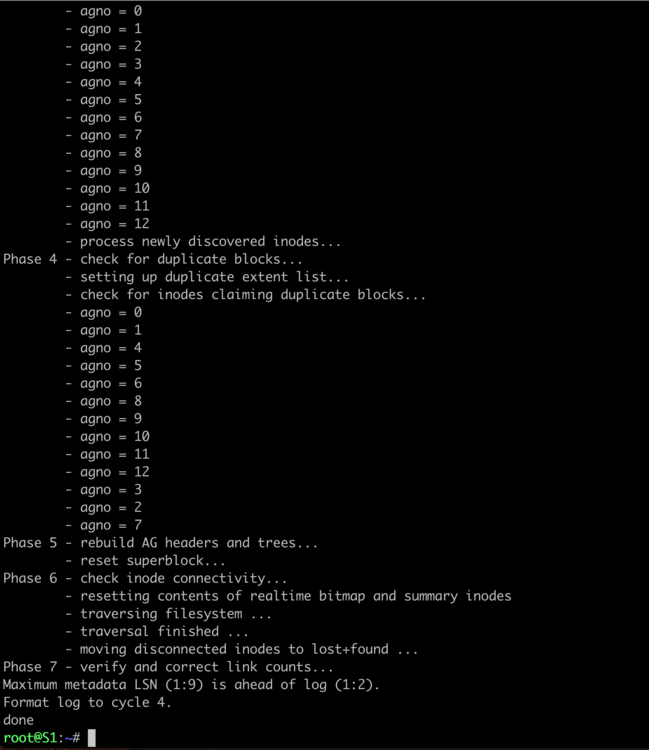
This is what I got. Can I add this back to the array or what are the next steps that I need to take.
-
If I understand this correctly, it's telling me to add the disk to the array?
-
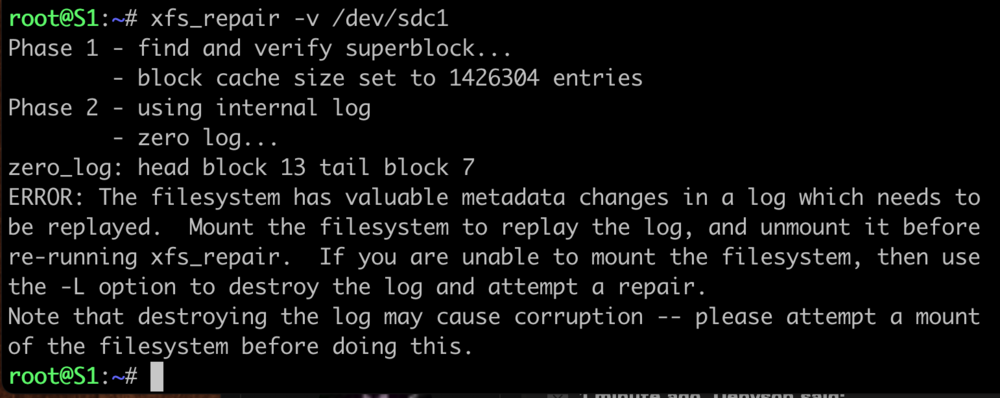
Still do the -v but add the partition number? Like this: xfs_repair -v /dev/sdc1
-
The disk is currently showing up under Unassigned Devices, and I'm unable to use the GUI to run xfs_repair. Instead, I'm using the command xfs_repair -v /dev/sdc in the terminal. I've followed the instructions in the Unraid documentation https://docs.unraid.net/legacy/FAQ/check-disk-filesystems/. Please review my progress and advise if there are any additional steps I need to take. I'm also concerned that the repair process is taking a very long time, but I suppose it's to be expected given the large size of the disk.

-
I've replaced the power supply and all cables, and I'm no longer seeing ATA errors. I'm currently running xfs_repair -v on the new 14TB drive I plan to add to the array. If everything goes smoothly, I'll proceed with adding it to the array.
-
I don't have the necessary equipment to test this at the moment, but I've ordered a new power supply that should arrive overnight and will be here by morning. Should I cancel the ongoing xfs-repair operation?
-
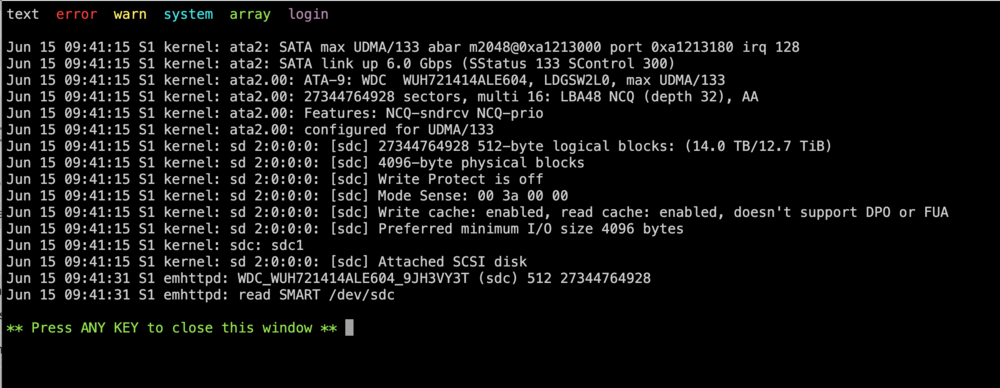
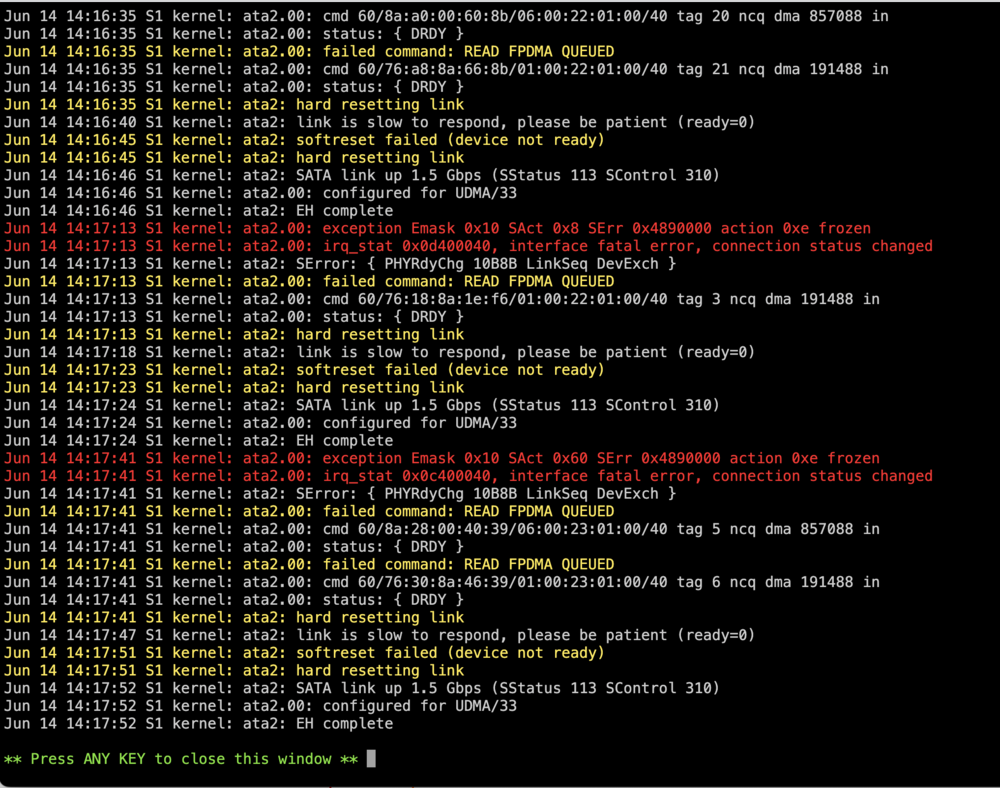
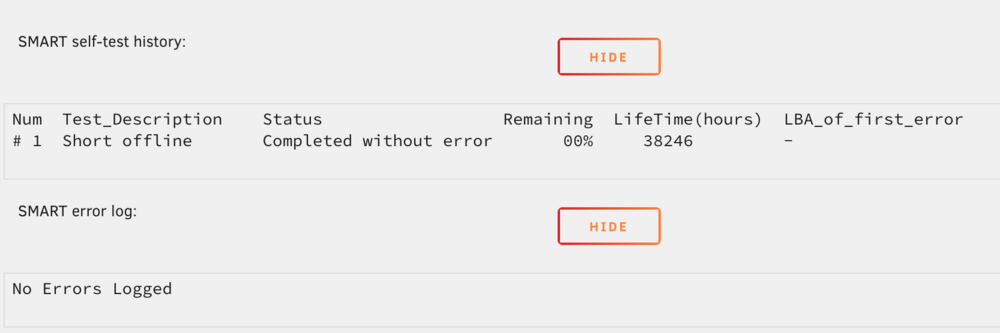
Quick update: I've been running xfs_repair -L on the new 14TB hard drive (sdc) that I previously attempted to add to expand storage. The drive is currently not mounted and not part of the array (marked as "not installed" with a red X). Unfortunately, I'm back to being unable to write to the array. The screenshot bellow is what I get from disk log information.
-
Just added the diagnostics. Thank you for the heads up.



