





disbedan015
Members
-
Joined
-
Last visited
Everything posted by disbedan015
-
You can watch this incident to see if, I was wrong or if they need any additional information. https://github.com/nadeko-bot/nadekobot/issues/15
-
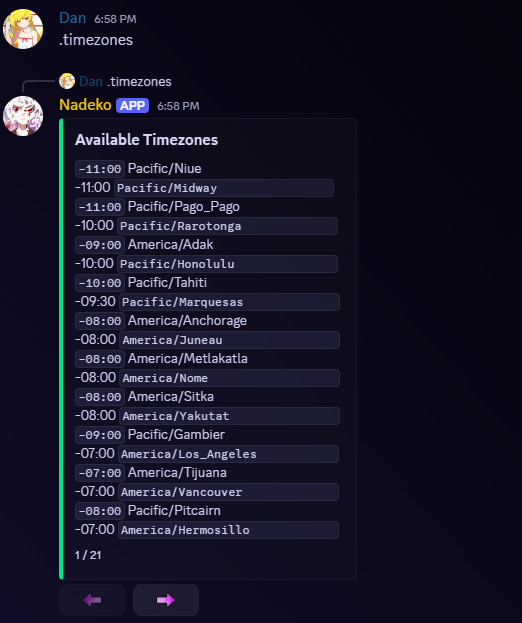
@Yeoubi Thanks for checking that for me. I finally got done with work and had some time to explore. It looks like tzdata isn't installed by default in the base docker image they are using. I'm working on submitting a fork to fix this thru github however for your issue to resolve right away it's pretty simple. I've included the steps below. Let me know if you have any trouble. Open the Nadekobotv6 console. type in apk add -U tzdata restart the docker container the command will now work
-
@Yeoubi I’m not entirely sure since I am no longer making a custom docker image I’m using the stock image and just set up a template based on the official v6 image they provided. I do agree it’s likely an issue with the image because my bot has the same behavior when tested. I do have a possible idea that I will test when I have some time tomorrow but if you want to test it that’s fine. Add an additional variable to the template for “TZ” and set it to the correct timezone that way as an example “America/New_York” since that’s the default way to do it with docker. https://wikipedia.org/wiki/List_of_tz_database_time_zones. I’ll get back to you with hopefully good news soon.
-
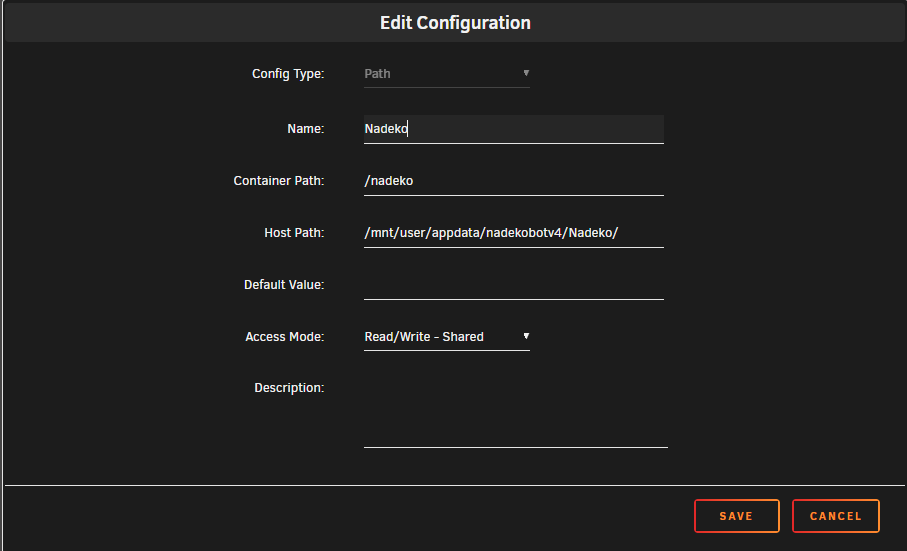
@Yeoubi Not a dumb question at all I had to edit the template a little bit to make that work. I have updated it by default now. Since you already have it you will want to add a add a path to the config You can do this by editing the container. Scroll to the bottom and click on Add another path, port, variable, label, or device. It will be a Path You can name it what ever I choose nadeko container path must be /nadeko Host path can be where ever you'd like the bot information to be saved on your unraid. You will edit the yaml files here default value can be left blank access mode I have it as Read/Write - Shared but normal read/write should also work. Save your path and click Done at the bottom of the edit screen. After it restarts the folder should be populated and let you edit the yaml. For the bot to see the changes it will need restarted. You can do this with the Die command or restarting the container one more time. Please feel free to ask if you have any questions.
-
Support Tread for: Docker Container: -Nadekobotv4 Repository: https://github.com/disbedan015/nadekobotv4-unraid Docker Hub: https://hub.docker.com/repository/docker/disbedan015/nadekobotv4 GitHub: https://github.com/disbedan015/ Nadekobot will pretty much work as long as you set the discord bot token and the owner ID but it supports a lot of other optional api keys you can add. Full list of supported commands are available here https://nadeko.bot/commands Original project GitLab page https://gitlab.com/Kwoth/nadekobot Docker image file is built from https://github.com/disbedan015/NadekoBotv4-Docker
-
Only other thing i did was have port forwarding setup for both 8088 and 8089 so the sever is accessible from the outside web since it defaults to public ip address access.
-
I had this same error. I solved it by filling in the "EXTERNAL_SERVER_PORT #optional" with the correct server port number 8089.


