





spl147
Members
-
Joined
-
Last visited
Everything posted by spl147
-
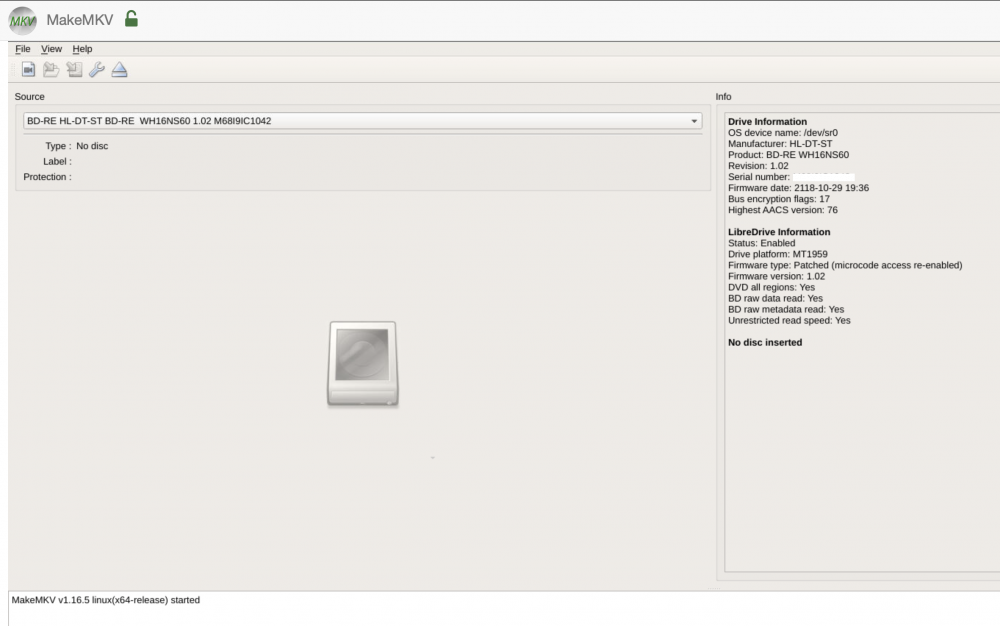
the issue is on your end! sg_map returns the correct info: root@SERVER:~# sg_map /dev/sg0 /dev/sda /dev/sg1 /dev/sr0 /dev/sg2 /dev/sdb /dev/sg3 /dev/sdc /dev/sg4 /dev/sdd /dev/sg5 /dev/sde /dev/sg6 /dev/sdf /dev/sg7 /dev/sdg /dev/sg8 /dev/sdh /dev/sg9 /dev/sdi /dev/sg10 /dev/sdj i have --device /dev/sr0 --device /dev/sg1 in the extra parameters section.
-
Ok so the 2 drivers you need to load are nct6683 and coretemp. By either modprobe via command line or the system temp plugin
-
Post the output of sensors detect
-
I can not believe the lack of reading that goes on over the fan speed plugin issue! all the info you need is a few posts back. im not gonna repeat it again
-
Driver `to-be-written': * ISA bus, address 0xa20 Chip `ITE IT8625E Super IO Sensors' (confidence: 9) means there is no driver for your fan controller so you can not control them
-
You got some reading to do! search is your friend. the plugin is not plug and play from the command line run sensors-detect
-
Whats the output of sensors detect
-
to be written mean a driver does not exist for lmsensors (software that controls the fans) so fan speed will not work for your setup untill the driver is written. you could try loading the it87 driver with force_id=0x290 it may work https://hwmon.wiki.kernel.org/device_support_status_g_i you could also swap out the fan for something that has a higher cfm
-
No, you need to pass the sr0 and the sgX parameter for full access in linux after you start the container look at the log for makemkv it will tell you what to pass
-
Yes use the ipmi plugin
-
i am using a Samsung 970 EVO plus reading from and writing to the same drive i hit 450MB/s easy real world numbers vs advertised numbers are very very different
-
MAX read speed for a optical drive for bluray/uhd is 6x or 27MB/s
-
Post the full output of sensors-detect
-
-
Did you install pearl from the nerd pack plugin? It is required
-
What is your min pwm setting? Min temp setting? min temp should be you idle temp, min pwm should be highest value you can set before you hear your fans
-
In bios fans should be set to full speed, autofan is not your issue if sensors detect doesnt have drivers four your board.
-
That is incorrect, the dynamix UI is now integrated into unRAID, not the plugins
-
something like this perhaps: NOTE: For the container to have access to your optical drive(s), you need to add them to your containers *Extra Parameters* line. An optical drive is represented by two Linux device files: /dev/srX and /dev/sgY. For optimal performance, the container needs both of them. This is done by clicking the button on the top right labeled Basic View to switch to Advanced View, this will expose the *Extra Parameters* line. To determine the right devices to use, start the container and look at its log. Then add the Devices listed to the Extra Parameters Line. Example Log Output: [cont-init.d] 95-check-optical-drive.sh: executing... [cont-init.d] 95-check-optical-drive.sh: looking for usable optical drives... [cont-init.d] 95-check-optical-drive.sh: found optical drive [/dev/sr0, /dev/sg1], group 19. [cont-init.d] 95-check-optical-drive.sh: exited 0. then add as follows: --device /dev/sr0 --device /dev/sg1I totally agree. Perhaps a more detailed explanation in the container for device setup.edit the container, click in the right corner where it says basic view, so it will say advanced, scroll down to where it says extra parameters and put --device /dev/sr0 --device /dev/sg1, then click applyAfter the docker is started look in the docker log, it tells you exactly what parameters to pass. here is mine: [cont-init.d] 95-check-optical-drive.sh: executing... [cont-init.d] 95-check-optical-drive.sh: looking for usable optical drives... [cont-init.d] 95-check-optical-drive.sh: found optical drive [/dev/sr0, /dev/sg7], group 19. [cont-init.d] 95-check-optical-drive.sh: exited 0. so therefore i add: -device /dev/sr0 --device /dev/sg7 to the extra parameters sectionHave you loaded the nct6775 driver?Post the full output



