BigDaddyDingDong
Members
-
Joined
-
Last visited
-
Don't worry though. Unraid is always looking to up the charges on their licensing programs cause you know they're working tirelessly on creating updates for GPUs that are going on 2 years old now.
-
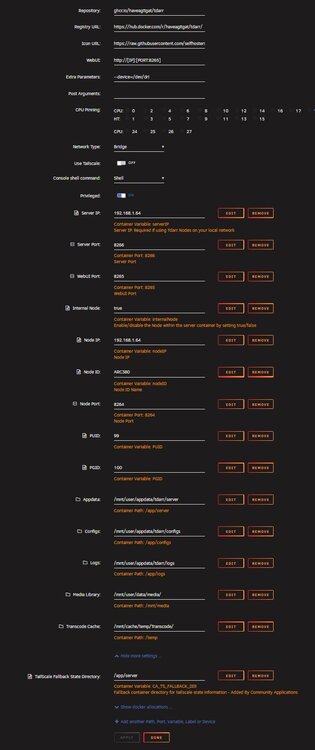
@Dustin Turner Hey, I just got my ARC A380 and went from a Quadro P2000 with the intent of switching from hvec to av1. I followed the same guide you did and noticed there was some errors with the flow. Here's the adjusted flow in the txt file and a shot of my TDarr Docker settings. Sorry no one got back to you. Unraid community isn't the most responsive for being as popular as it is. Arc-av1.txt
-
Found that I can change it to nvenc in the settings of the plug-in and decide whether it is H264, H265, or AVi in those settings as well.
-
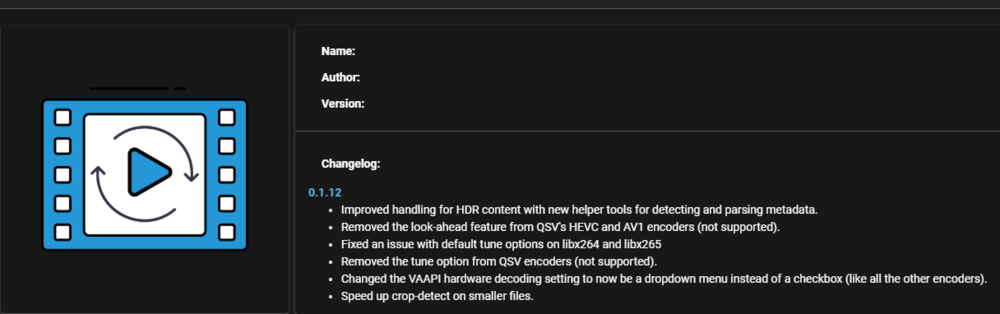
Been using Unmanic for a while, now all of a sudden it took a crap on me and started having issues. I'm using an Nvidia GPU to transcode and when re-installing the docker I noticed a lot of the video conversion plugins are missing. All I have now is this plugin for videos from the JOSH.5 Repo. Is this now just a 1 size fits all transcoding plugin? No options for H.264, H.265, AV1 or if it supports Nvidia, AMD, or Intel.
-
How do I add the templates to the flash drive?
-
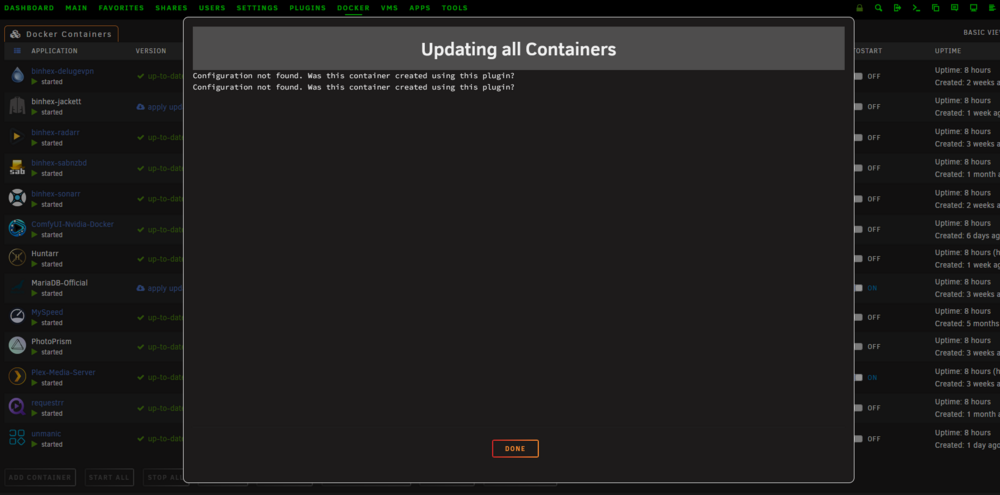
I've read other posts about users just deleting their dockers and reinstalling them when this error occurs. I'd rather not have to go through and set up all my Docker containers all over again. I had to restore my USB drive after some issues I had with the latest Unraid update, and after firing up everything, I noticed I got this error whenever I try to update containers.
-
So now that Plex is changing its policy on allowing users access to someone else's library without a paid subscription, I'm switching over to Jellyfin, but I'm having issues with getting it to use my Quadro card for transcoding. It continues to work the hell out of my CPU and will not use the GPU. I have --runtime=nvidia In the Extra Parameters and also added the two Variables "Nvidia GPU UUID" & "Nvidia GPU Patch Version", and have my GPU-ID in the GPU UUID variable section. If I try setting the transcode option to Nvidia in the Jellyfin settings in the WebUI, then I get an error and nothing plays. What am I doing wrong?
-
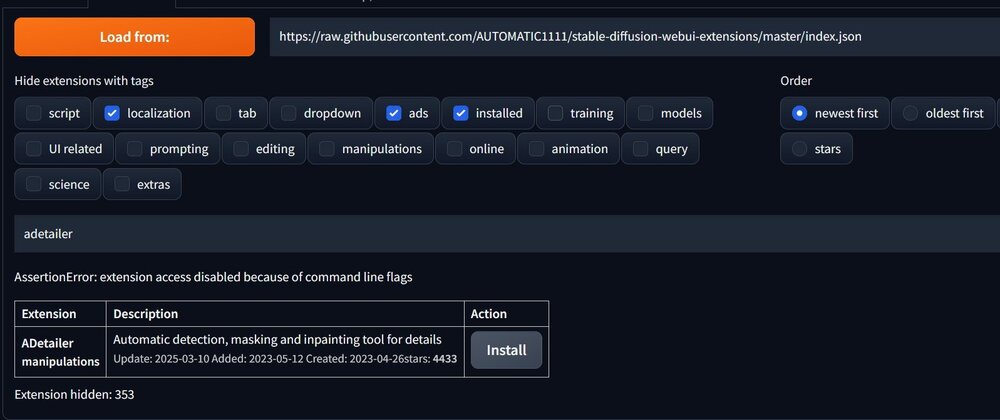
How do I fix "AssertionError: extension access disabled because of command line flags" when installing extensions? I've googled it and all I've found is remove flags, install extensions, and reapply flags... but how the hell do I do that?
-
@Arie Yeah, I figured that out, but whenever I needed a GPU driver update or a Windows security update I didn't want to have to reboot my entire server every time. Super sad! I took everything I intended to put into my Unraid server as far as hardware was concerned and updated my main gaming rig instead. Then, I went to Intel & Nvidia and no issues. When I was running my AMD 7900X3D CPU, I got a second Nvidia Quadro P2000 for transcoding and that didn't go over very well. Unraid kept pulling the 4070 Super in for transcoding and trying to run both in Docker even though it was passed through. That's what drove the Intel switch too. But honestly, I had better performance with the AMD cpu than the 14700K I have now. BUT AMD doesn't have Quick Sync... 👎But I've learned how to isolate hardware a lot better now so maybe if I tried a P2000 again it would work 🤷♂️
-
@Arie sadly, I had to buy an Nvidia GPU. Once I did that everything was fixed. AMD GPUs do not play well with unRAID. I went to a 4070 Super and now all my unRAID issues have been fixed. I even tried Proxmox with the same setup and my VMs crashed the entire system every time.
-
@BKG ah gotcha, so you are setup for dual cache raid 1 w/ 2 SSDs
-
@BKGyou're set for Raid 1 so if you're only using 1 NVME for your cache pool and you want to pass through the second as a VM you'll wanna turn that off.
-
@BKG I had the same issue when I had my cache pool set to raid 1. I removed 1 NVME prior and passed it through and never changed my cache settings. If your cache is set to Raid 1/0/jbod or any version of raid it'll assign any "loose" drive with the new 7.0.0 update for some reason. I had to make sure my cache pool was only assigned to 1 drive.
-
@BKG@BKG can you go to the "main" tab and then click on "cache" under "pool devices" and take a screenshot of your cache setup and post it? Something may have changed during the 7.0.0 update in your cache settings causing you to have problems. I'm assuming you also have the unassigned devices plugin as well?
-
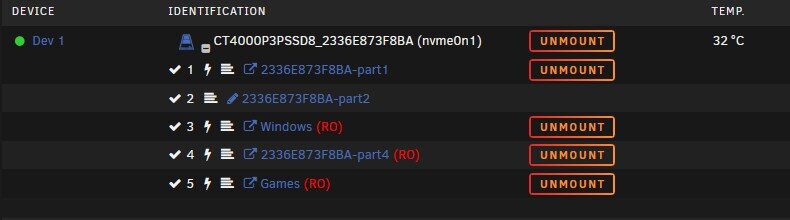
@BKG Hey, I'm just seeing this. I wouldn't recommend using the "sdf" as the location. When you reboot your server that drive identification can change. open up the terminal in the top right-hand corner of the Unraid GUI enter mc into the terminal and hit enter. From there go to /dev/disk/by-id/ & find your drive id and use that. You'll need to double click "/ . . " at the top to get to where you can find /dev. So for me my path is : "/dev/disk/by-id/nvme-CT4000P3PSSD8_2336E873F8BA" You have to put in nvme or ata or ssd or whatever is shown as your disk id. and I'm sure you figured out the path you meant to put in was "/dev/sdf/vdisk2.img" but like I said before it will change from sdf to like sdh. SpaceInvador talks about this in the video link I posted earlier in this thread. You can also convert your vdisk into a legit NTSF format so you can pull your passthrough drive one day if you want and just run a bare metal rig down the road. I attached my passthrough setup.