





Civic1201
Members
-
Joined
-
Last visited
Everything posted by Civic1201
-
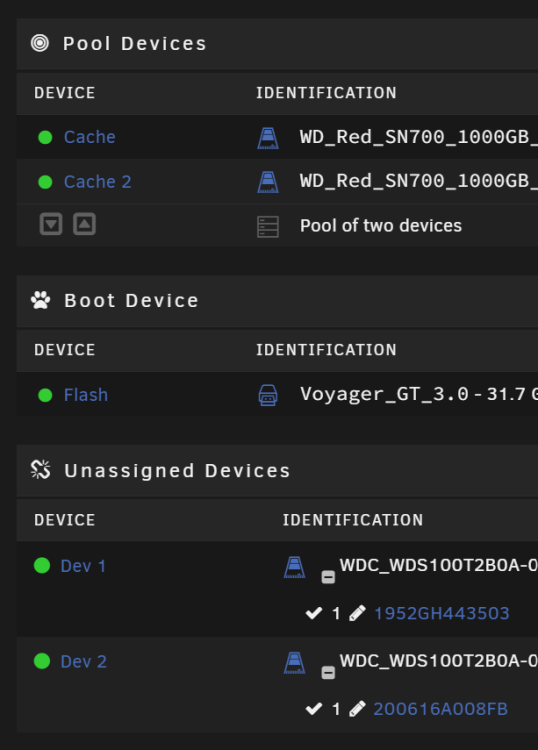
Yes! Both disks were changed to NVME, "old" SATA disk ar now unassigned devices. Thanks again for your help!
-
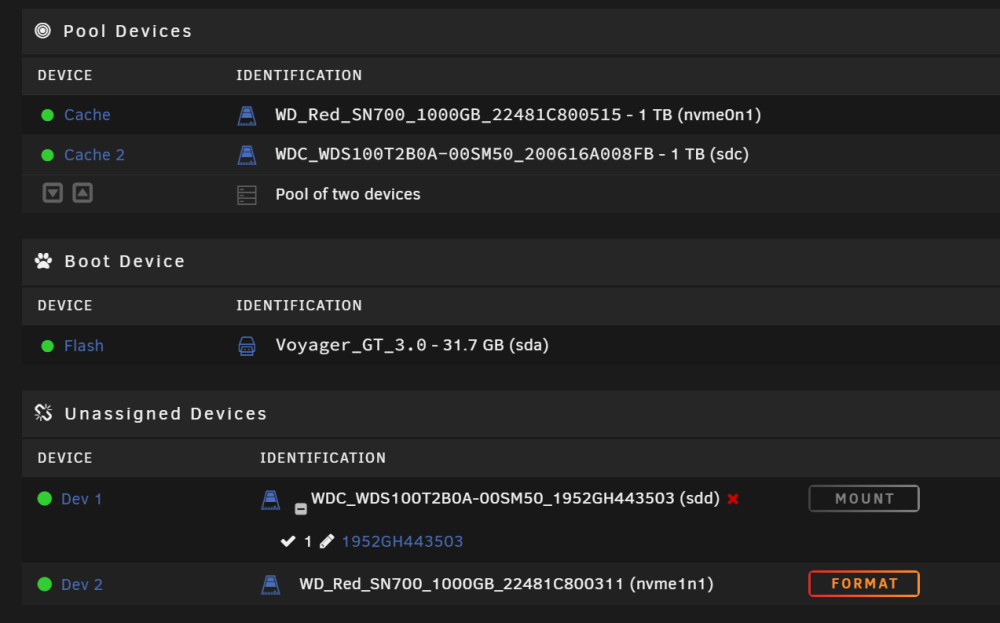
Thank you! I think it worked: Will stop the array again an change the second disk to NVME.
-
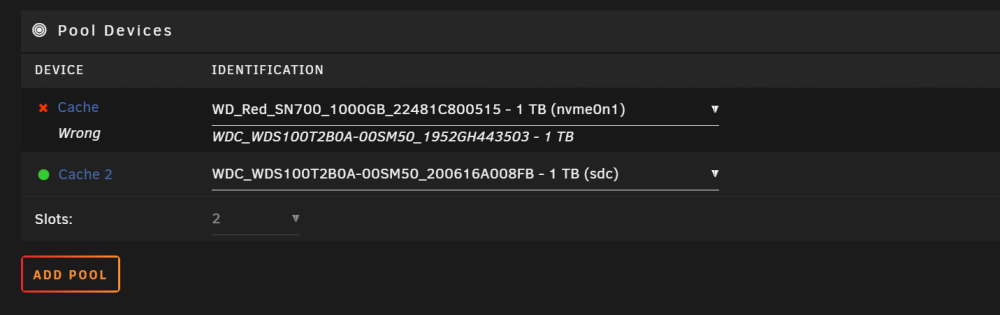
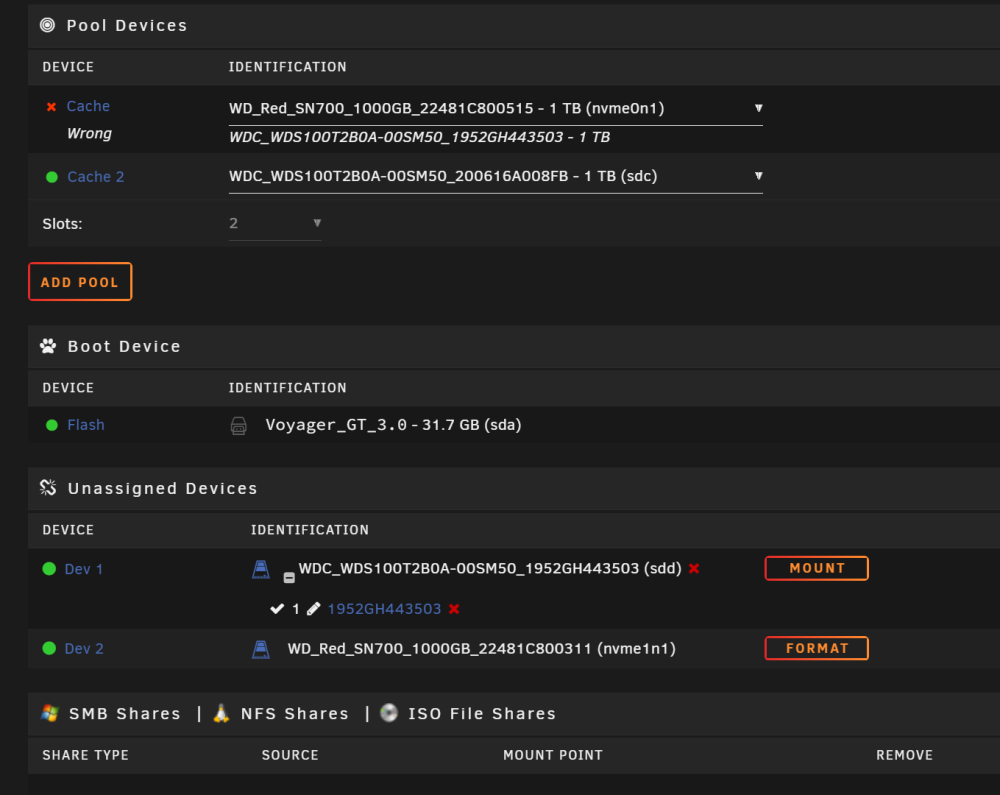
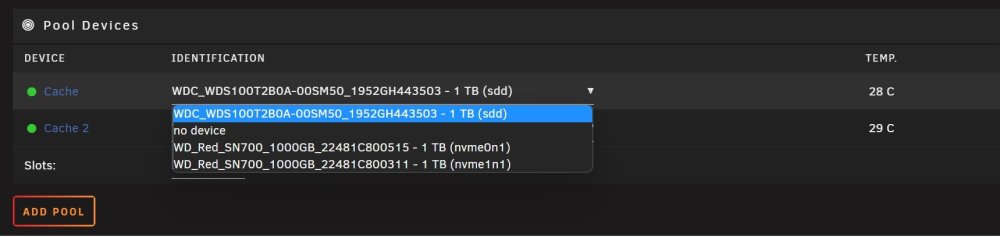
Before I start... This is the screen of a stopped array and one disk changed to new NVME: This is correct? Now I have to start the array? Sorry for asking... Here are the unassigned devices:
-
And the procedure I posted above is correct? - stop the array - select one cache drive and change it to the new NVME - start the array - > wait for rebuild?
-
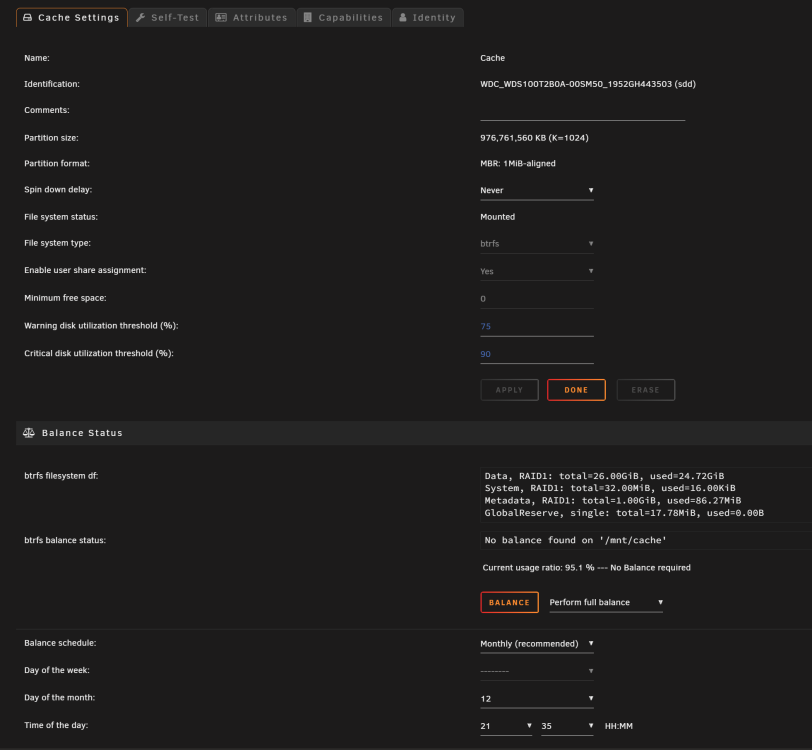
I am pretty sure that the cache pool is running in Raid1 mode: Please find my diagnostic zip file attached, thank you for checking tower-diagnostics-20230217-1413.zip
-
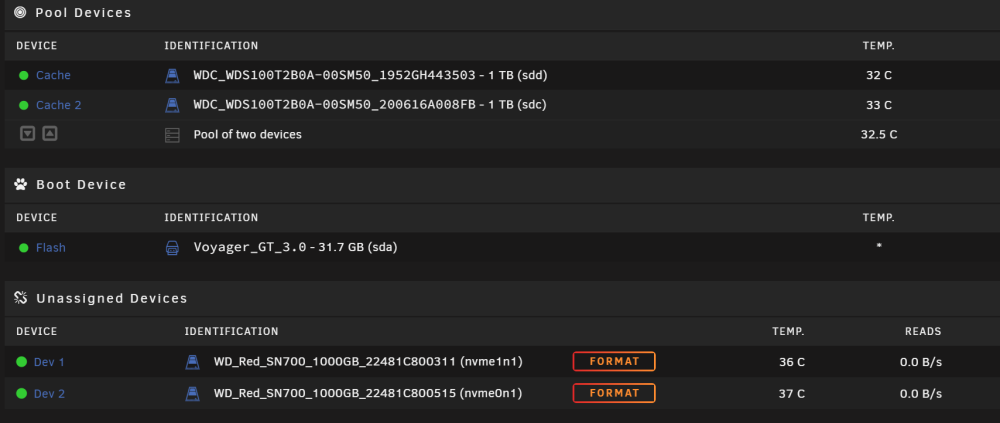
Currently I am running 2 x SATA WD Blue disks as a cache pool: WDC_WDS100T2B0A-00SM50_1952GH443503 (sdd) WDC_WDS100T2B0A-00SM50_200616A008FB (sdc) Now I want to replace disk by disk to 2 WD Red SN700 1TB NVME drives. These disks are marked as "Unassigned Devices" at the moment: I found this guide here: This is is still valid right? I am running Unraid Version: 6.11.5. So I just select the first WD Red NVME, start the array and the process of rebuilding will begin? Procedure: - stop the array - on the main page click on the cache device you want to replace/upgrade and select the new one from the drop down list (any data on the new device will be deleted) - start the array - a btrfs device replace will begin, wait for cache activity to stop, the stop array button will be inhibited during the operation, this can take some time depending on how much data is on the pool and how fast your devices are. - when the cache activity stops or the stop array button is available the replacement is done. - if the new device is larger than the one being replaced you need to stop/re-start the array once the replacement is done for the new capacity to be available. My questions: - do I have to format the 2 NVMEs before I start the procedure? - i stopping the docker services still needed? - last time when I tried to replace one disk the btrfs device replace did not startet and the array showed a capacity of 1.5TB. Do I have to start it manually? Thank you for your help.
-
For the "issue" docker not available try this:
-
Since the last container update ETA is not shown anymore. Any ideas? edit: seems to be related to mp4 files, everything normal with mkv: edit 2: after some minutes back to the strange view:



-
I have the same values like you: I am running an Pi3+ as PiHole + entry in Fritzbox settings (if it´s important).
-
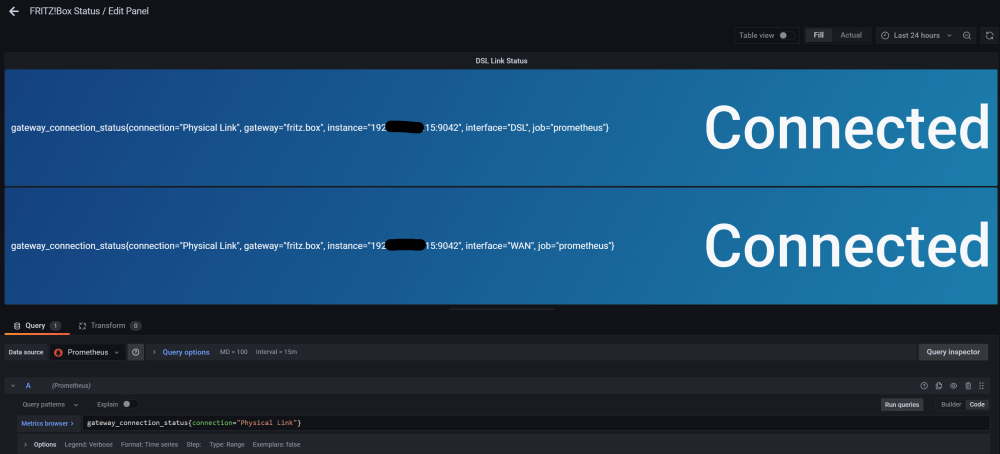
@sonic6 Here is a screenshot from the source:
-
Ich habe mit tdarr experimentiert um den richtigen Plugin-Stack für meine Bedürfnisse zu finden. Jetzt bin ich soweit, dass ich tdarr auf meine beiden Shares loslassen würde. Die Shares sind auf einzelnen Disks und sind "cache enabled". Für Transcoding von tdarr habe ich temp auf "prefer" gesetzt. Ist es jetzt sinnvoll für die Transcodierung den Cache der Shares zu deaktivieren oder nicht? Danke für Ratschläge
-
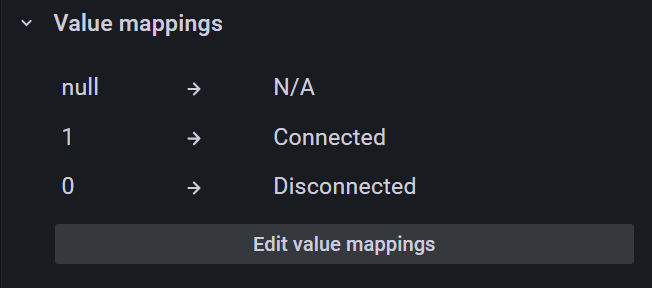
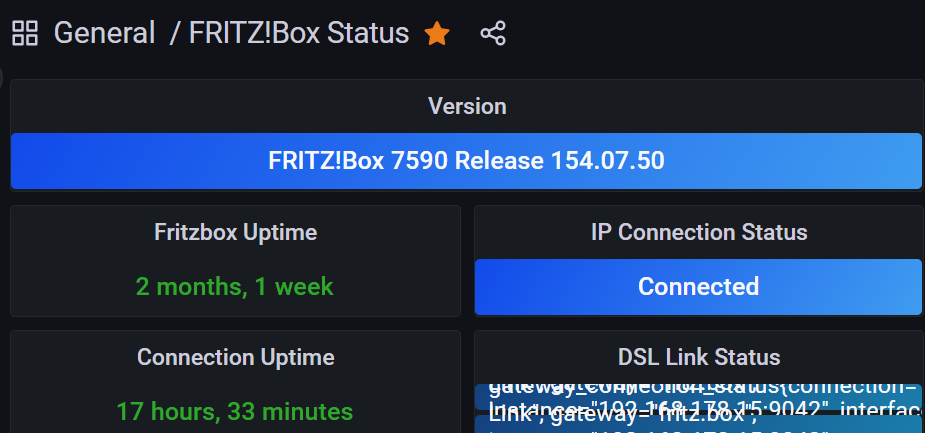
Hi there, i was able to successfully install: - nvidia-smi Exporter - PiHole Exporter - Fritzbox Exporter Only Fritzbox Exporter (for my 7590) gives me a strange output regarding the DSL Link Status: Any idea how to fix that? Thank you!
-
Wahnsinn! Mit der aktuellen RC klappt es wie gewünscht. Danke für den Tip.
-
Bis jetzt bin ich noch auf Version: 6.10.3 und da klappt es nicht. Werde den RC mal testen, viel Hoffnung habe ich allerdings nicht...
-
Leider besteht das Problem nach wie vor, eine Lösung habe ich bisher nicht gefunden...
-
Is there any chance to get rid of these errors while using your pihole container? stubby.yml: cloudflare.yml:
-
Any ideas how to solve that issue? After container restart it will work fine but error(s) will come back. Thank you!
-
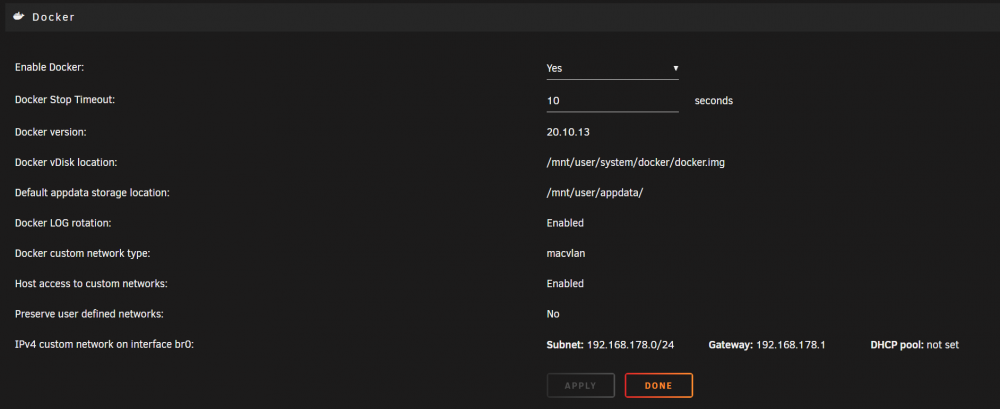
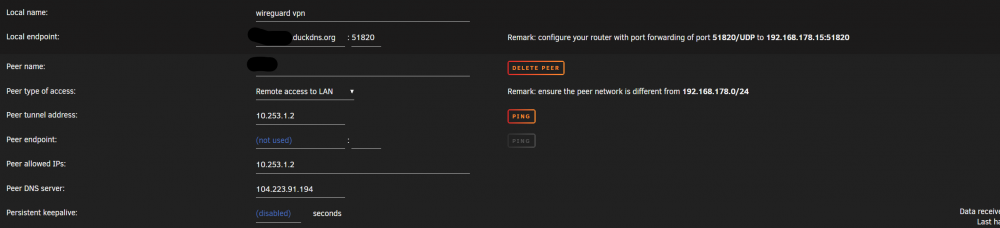
Hi there, I am using binhex-delugevpn for some of my containers, this works perfect. When I try to connect remotly via Wirguard to my server I can only reach my containers without vpn-passthrough. For exampel: krusader is working fine, jdownloader2 and others are not reachable, any ideas?

-
ja, habe ich auch probiert, leider kein Erfolg.
-
Leider hilft mir das nicht, lokal kann ich auf die Container zugreifen, jedoch nicht, wenn ich eine Wireguard remote Verbindung von extern herstelle.
-
Hallo, zu Zeit stehe ich vor folgendem "Problem", welches sicher hausgemacht ist... Zu Unraid habe ich gemäß Anleitung eine Wireguard Verbindung für den externen Zugriff eingerichtet. Einige Docker-Container lasse ich jedoch hinter binhex-delugevpn laufen, welcher wiederum zu einem kommerziellen VPN Anbieter verbindet. Auf die Container ohne binhex-deluge kann ich ohne Probleme zugreifen, auf die mit leider nicht. Nutze ich die Wireguard Verbindung der Fritzbox, habe ich vollen Zugriff und kann auch auf alle Container zugreifen. Nun würde ich gerne alles über die Unraid Wireguard Verbindung laufen lassen und freue mich auf hilfreiche Tipps, vielen Dank!
-
Da es auch im Z490 ohne GPU nicht funktioniert hat, würde ich diese Fehlerquelle ausschließen wollen. ASPM -> also mal tesweise alle Powerstages deaktieren?
-
Danke für den Hinweis. Irgendwelche Ideen, woran es im Bios liegen könnte? C-States vielleicht?
-
Also SSH funktioniert nicht, der Server ist definitiv "weggehängt". Hier mal ein Screen von der System Devices.
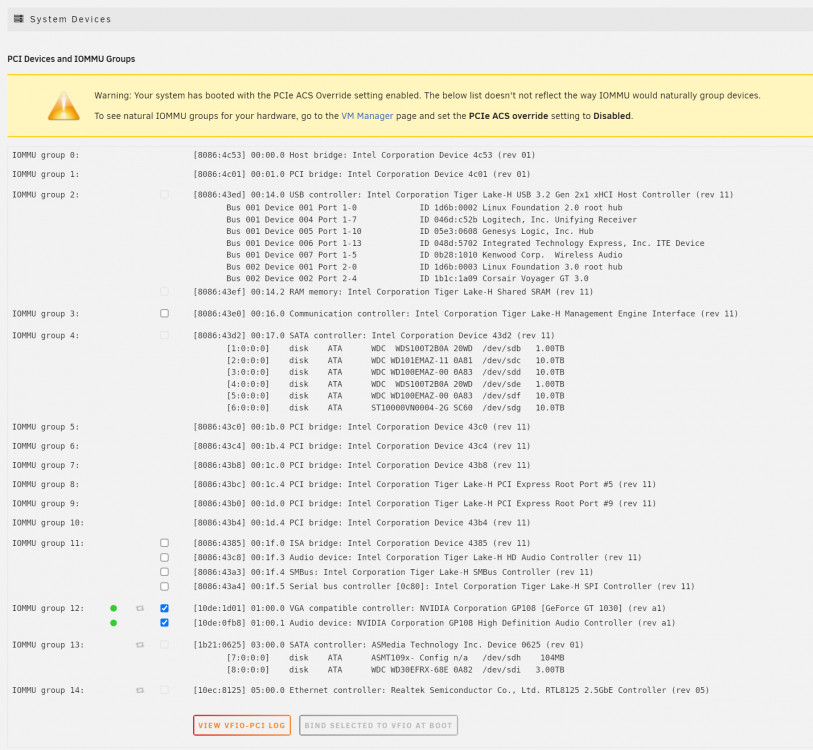
-
Auch bevor ich eine VM eingerichtet habe bzw. vor der Instalation der 1030OC hat das mit dem Sleep nicht funktioniert. Zeitweise hatte ich auch ein Z490 Board verbaut und hatte die gleichen Probleme. Mit dem ASRock J5040-ITX hatte ich keinerlei Probleme, es "muss" also etwas mit der Plattform zu tun haben...







